paper-mate-calendar-pens
KIDS CRAFTS
ANIMALS
OCEAN CRAFTS
INSECTS
BIRDS
PAPER PLATE CRAFTS
CUPCAKE LINER CRAFTS
BOOK INSPIRED CRAFTS
HOLIDAY CRAFTS
VALENTINE’S DAY
GROUNDHOG DAY
ST. PATRICK’S DAY
EASTER
EARTH DAY
MOTHER’S DAY
FATHER’S DAY
FOURTH OF JULY
BACK TO SCHOOL
HALLOWEEN
THANKSGIVING
CHRISTMAS
SEASONAL CRAFTS
WINTER
SPRING
SUMMER
FALL
Coloring Pages
How to draw
Shop
Search
Search for:
Search
Follow us
facebook
twitter
instagram
pinterest
youtube
Menu
Follow us
facebook
twitter
instagram
pinterest
youtube
TRENDING ARTS AND CRAFTS:
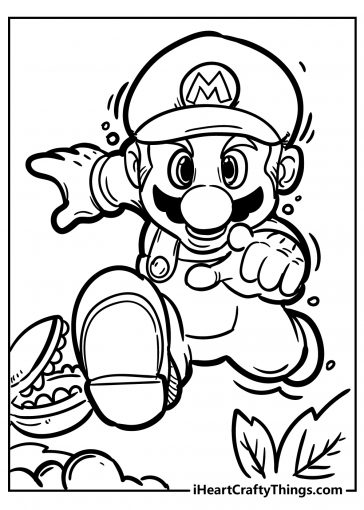
New And Exciting Super Mario Bros Coloring Pages
All New Crafty Videos!
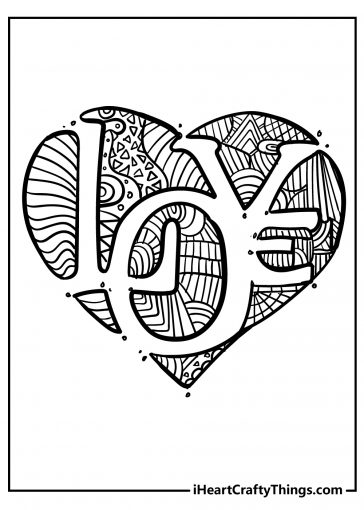
49 Beautiful Heart Coloring Pages for 2024
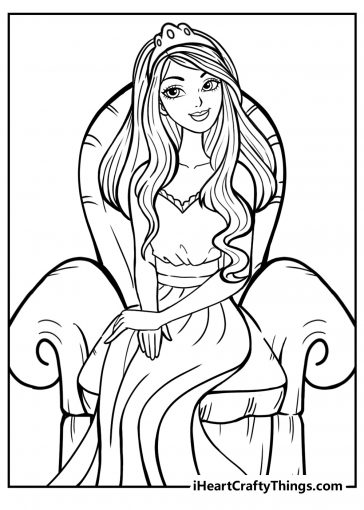
Enchanting New Princess Coloring Pages!
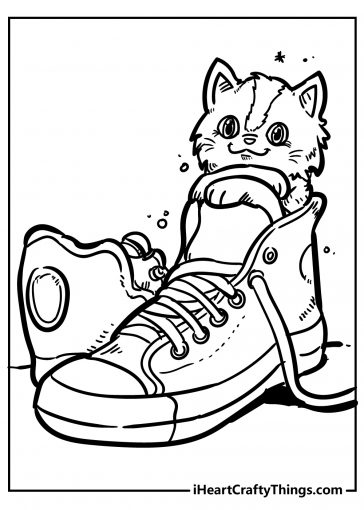
The Cutest Cat Coloring Pages
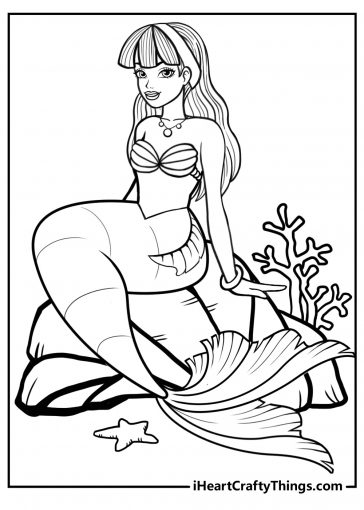
Magical Mermaid Coloring Pages
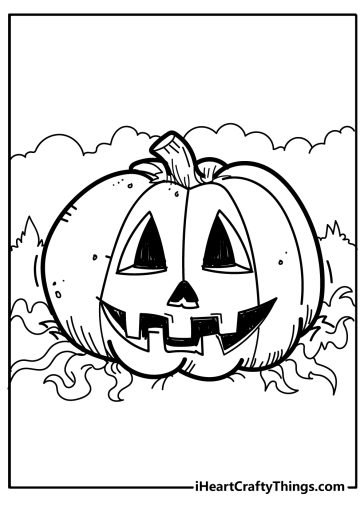
Pumpkin Coloring Pages – All New for 2024!
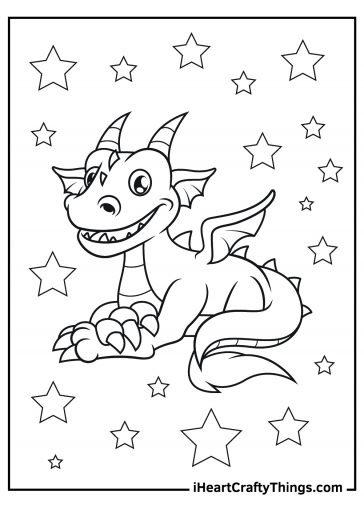
All New Dragon Coloring Pages!
Choose your perfect shade of bright orange!
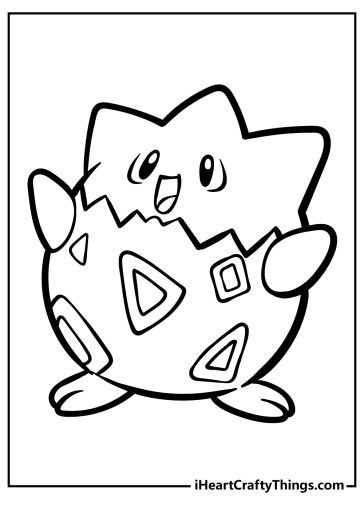
New Pokemon Coloring Pages Free to Print and Color
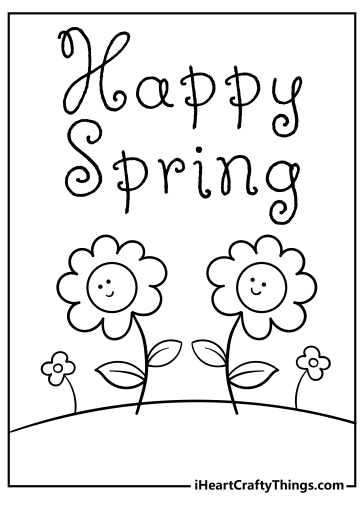
All New Spring Coloring Pages for 2024!
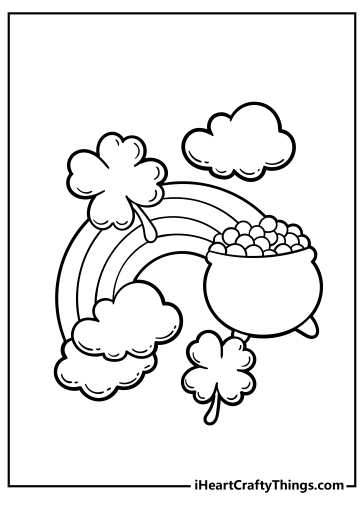
St Patrick’s Day Coloring Pages
All New Easter Coloring Pages for 2024!
Choose the perfect shade of Bright Yellow for you!
Choose your perfect shade of Cinnamon!
Choose the perfect shade of Cornflower Blue for you!
Choose the perfect shade of Crimson for you!
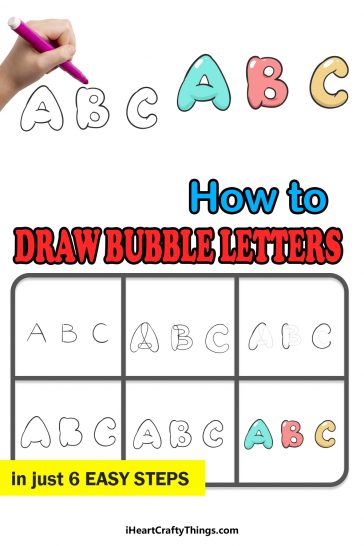
Printable Bubble Letters – A Complete Guide!
Choose your perfect shade of burgundy!
Say Happy Birthday Son with a Special Message!
100 Beautiful Ways to Say Happy Birthday Mom!
Valentine’s Day Coloring Pages
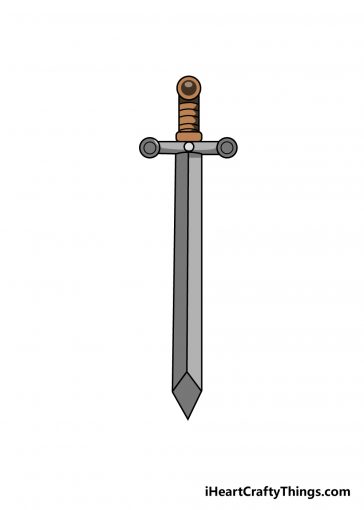
How to Draw A Sword – A Step by Step Guide
How to Draw A Star – A Step by Step Guide
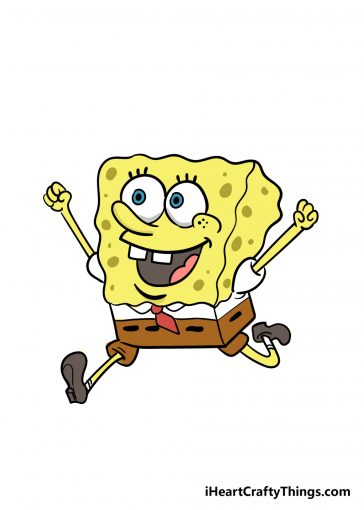
How to Draw Spongebob – A Step by Step Guide
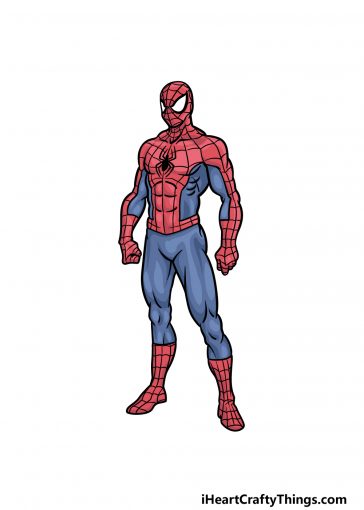
How to Draw Spiderman – A Step by Step Guide
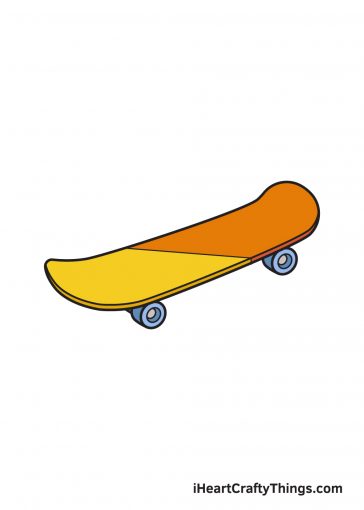
How to Draw a Skateboard – Step by Step Guide
How to Draw A Skull – A Step by Step Guide
How to Draw A Piano – A Step by Step Guide
How to Draw a Cowboy Hat – Step by Step Guide
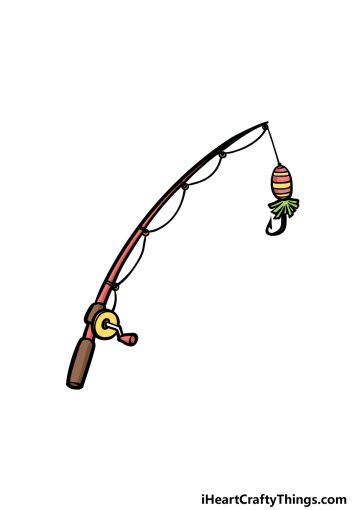
How To Draw A Fishing Pole – A Step by Step Guide
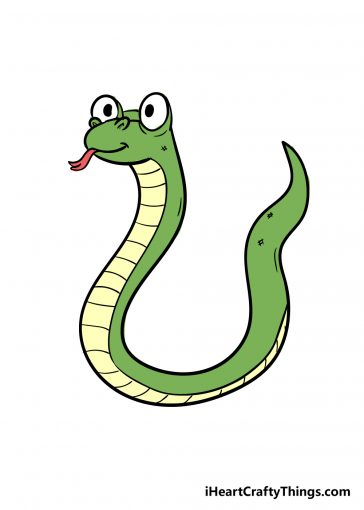
How to Draw A Snake – A Step by Step Guide
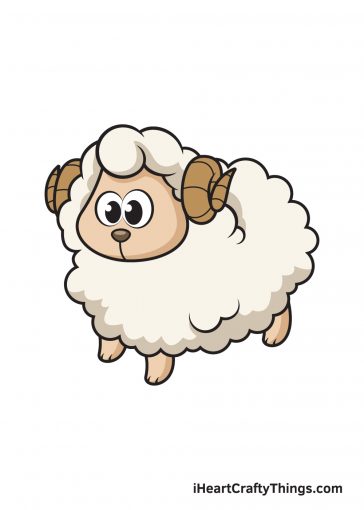
How to Draw a Sheep – Step by Step Guide
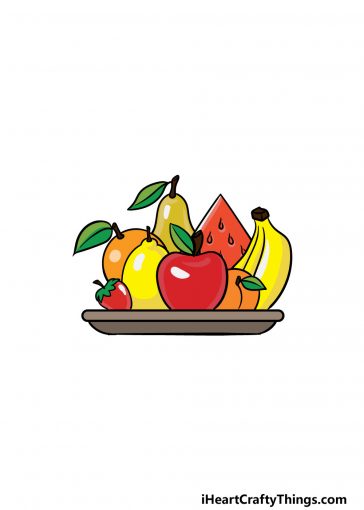
How to Draw Fruits – A Step by Step Guide
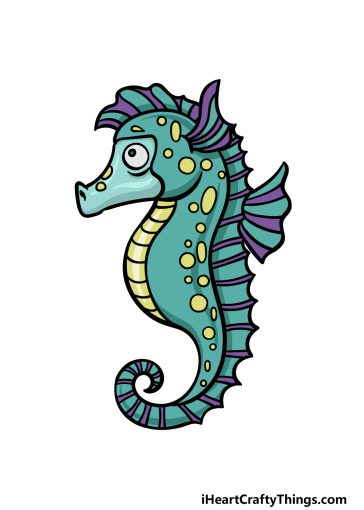
How to Draw A Seahorse – A Step by Step Guide
How to Draw Rick And Morty – A Step by Step Guide
How to Draw a School – Step by Step Guide
How to Draw A Rainbow – A Step by Step Guide
How to Draw Sonic – A Step by Step Guide
How to Draw an Eiffel Tower – Step by Step Guide
How to Draw A Microphone – A Step by Step Guide
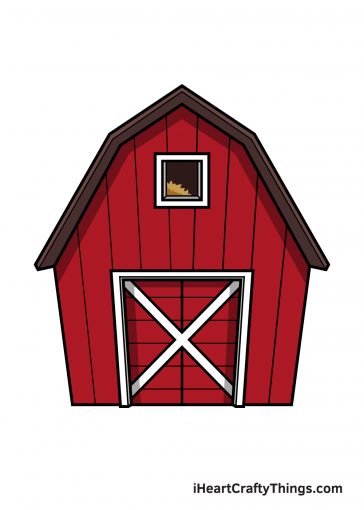
How to Draw a Barn – Step by Step Guide
How to Draw a Camera – Step by Step Guide
How to Draw Planets – A Step by Step Guide
How to Draw a Princess – Step by Step Guide
How to Draw a Pizza – Step by Step Guide
How to Draw A Penguin – A Step by Step Guide
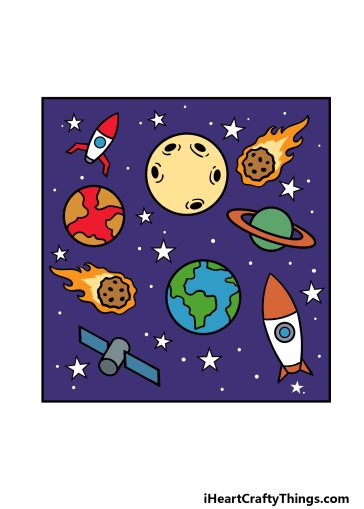
How to Draw A Cartoon Space – A Step by Step Guide
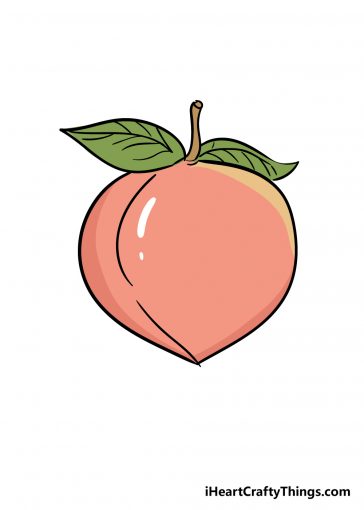
How to Draw A Peach – A Step by Step Guide
How to Draw An Octopus – A Step by Step Guide
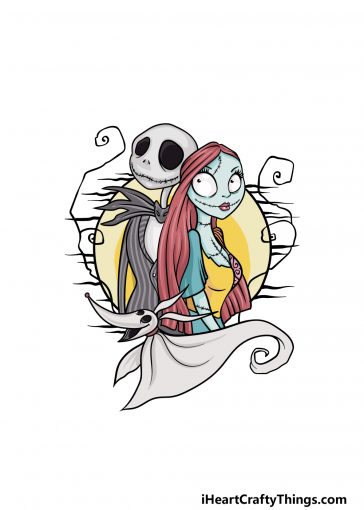
How To Draw A Nightmare Before Christmas – A Step by Step Guide
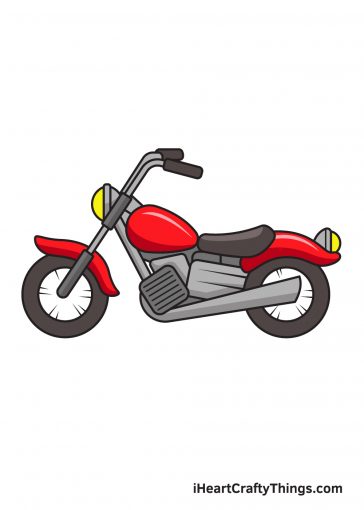
How to Draw a Motorcycle – Step by Step Guide
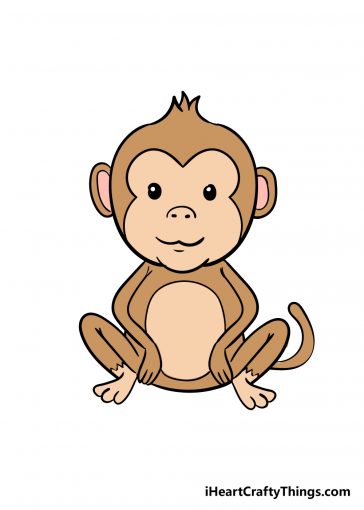
How to Draw A Monkey – A Step by Step Guide
How to Draw Money – A Step by Step Guide
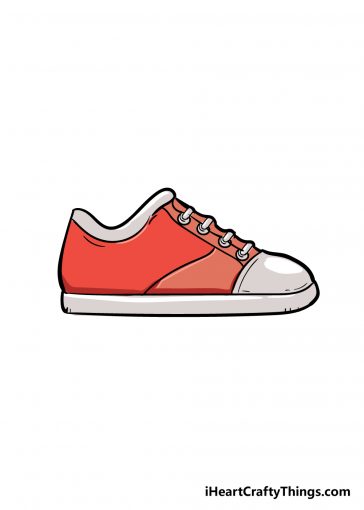
How to Draw A Shoe – A Step by Step Guide
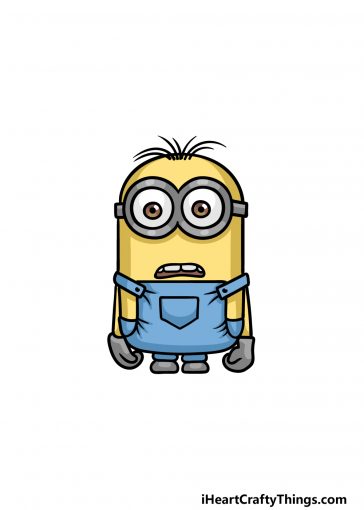
How To Draw A Minion – A Step by Step Guide
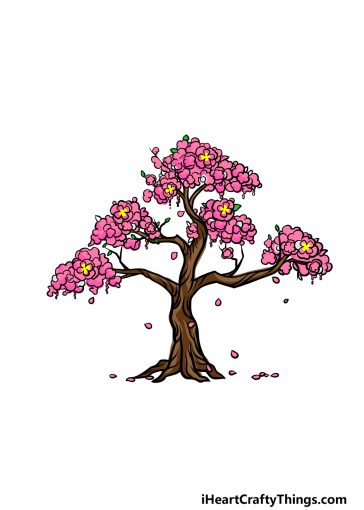
How to Draw A Cherry Blossom Tree – A Step by Step Guide
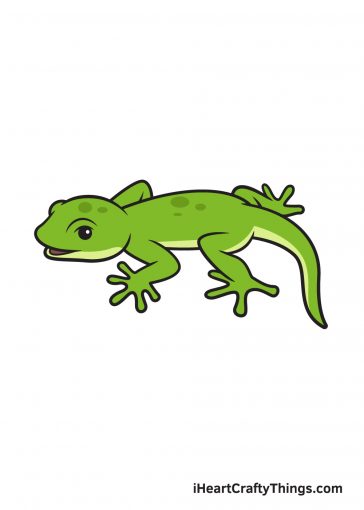
How to Draw a Lizard – Step by Step Guide
How To Draw A Stack Of Books – A Step by Step Guide
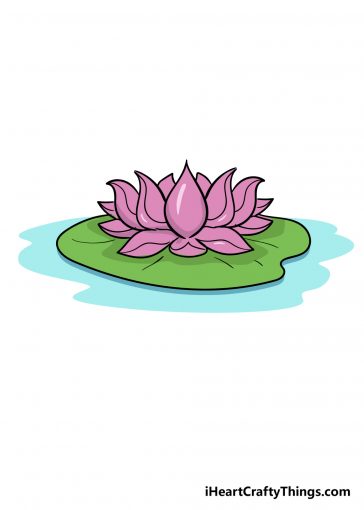
How to Draw A Lotus Flower – A Step by Step Guide
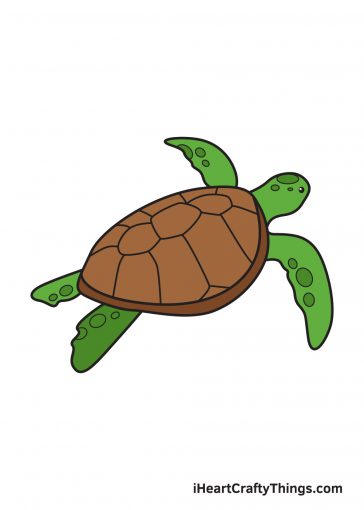
How to Draw a Sea Turtle – Step by Step Guide
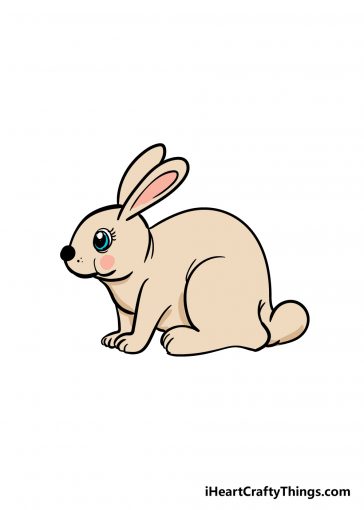
How to Draw A Rabbit – A Step by Step Guide
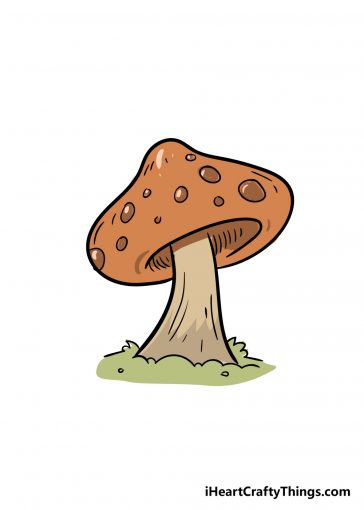
How to Draw A Mushroom – A Step by Step Guide
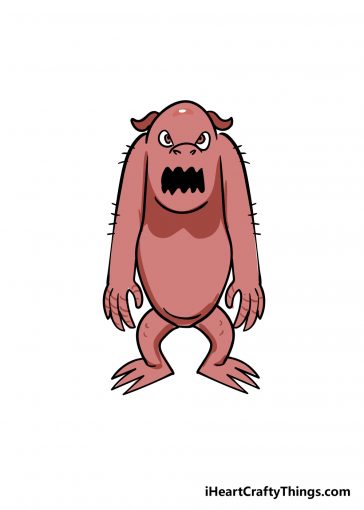
How to Draw A Monster – A Step by Step Guide
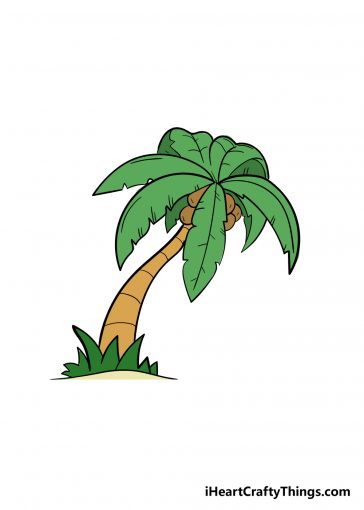
How to Draw A Palm Tree – A Step by Step Guide
How to Draw Princess Peach – A Step by Step Guide
How To Draw Lungs – A Step by Step Guide
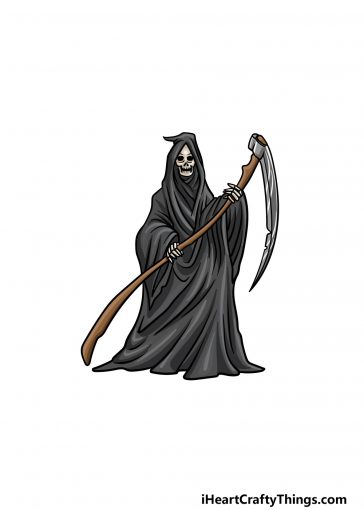
How To Draw Grim Reaper – A Step by Step Guide
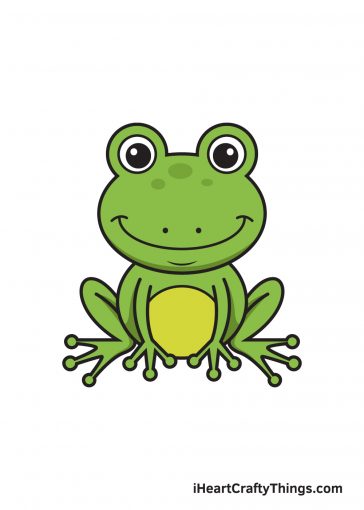
How to Draw a Frog – Step by Step Guide
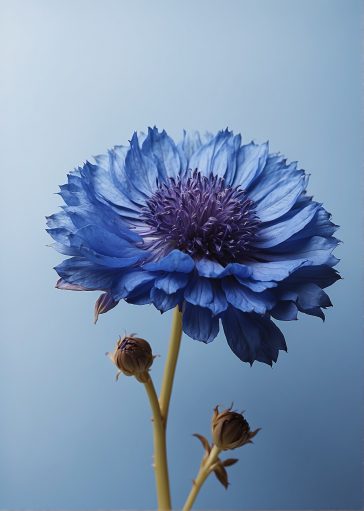
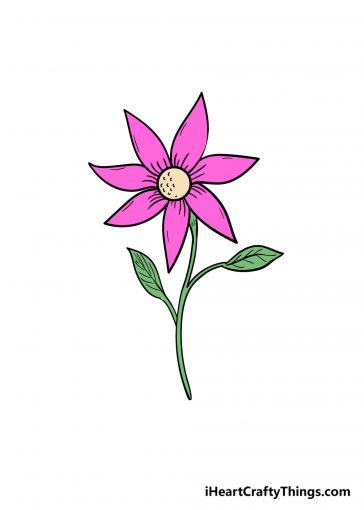
Beautiful Flower Drawing – A Step by Step Guide
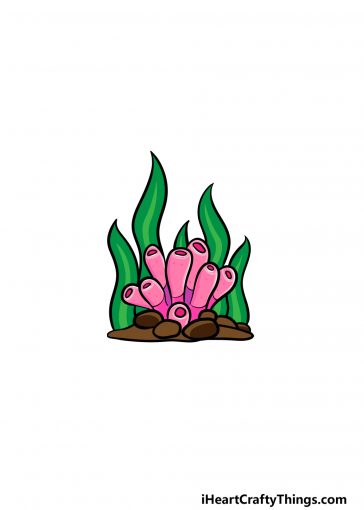
How to Draw Coral – A Step by Step Guide
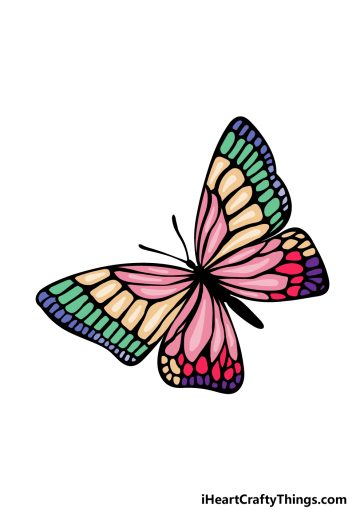
How To Draw A Colorful Butterfly – A Step by Step Guide
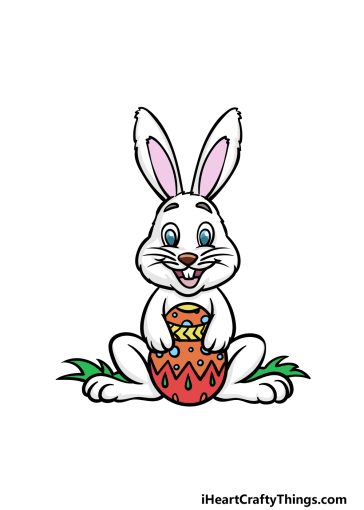
How To Draw The Easter Bunny – A Step by Step Guide
How to Draw A Dress – A Step by Step Guide
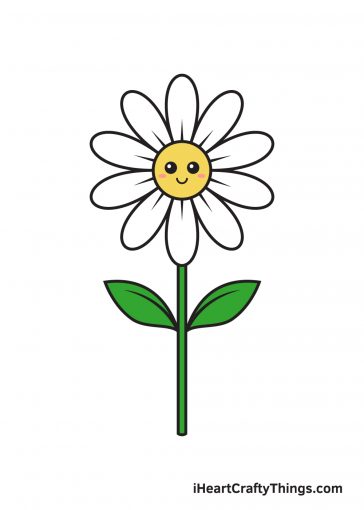
How to Draw a Daisy – Step by Step Guide
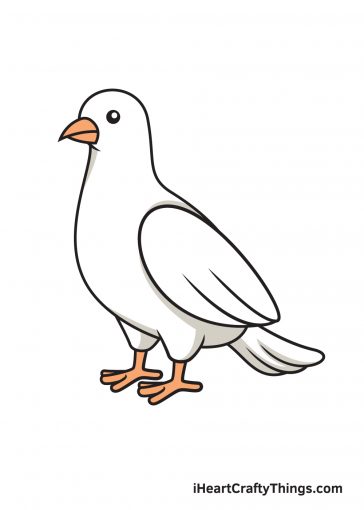
How to Draw a Dove – Step by Step Guide
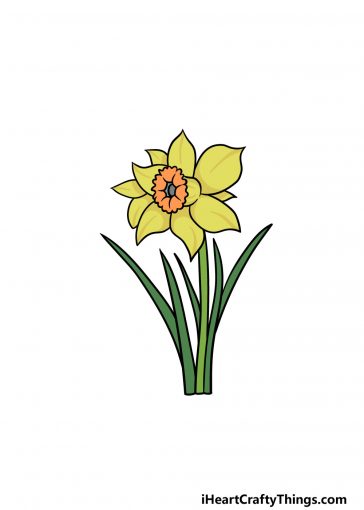
How to Draw A Daffodil – A Step by Step Guide
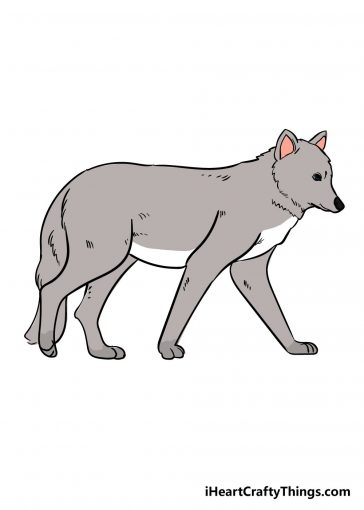
How to Draw A Wolf – A Step by Step Guide
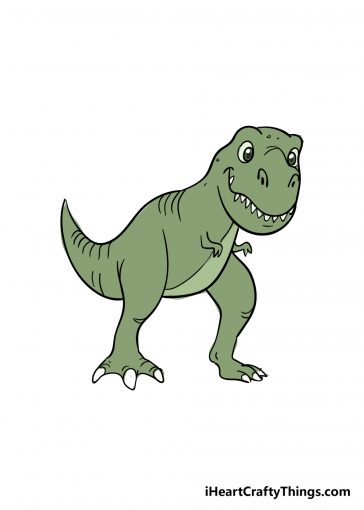
How to Draw A T-Rex – A Step by Step Guide
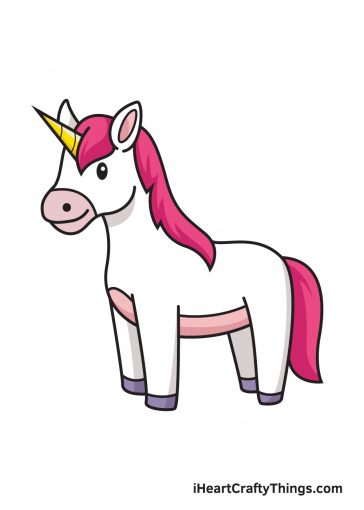
How to Draw a Unicorn – Step by Step Guide
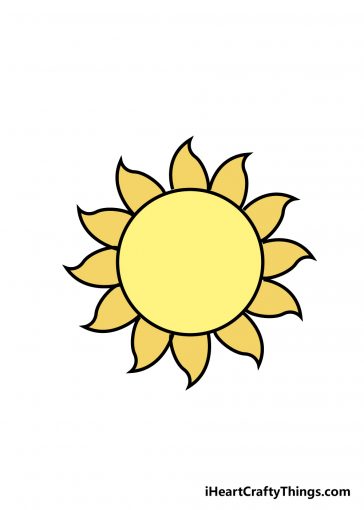
How to Draw The Sun – A Step by Step Guide
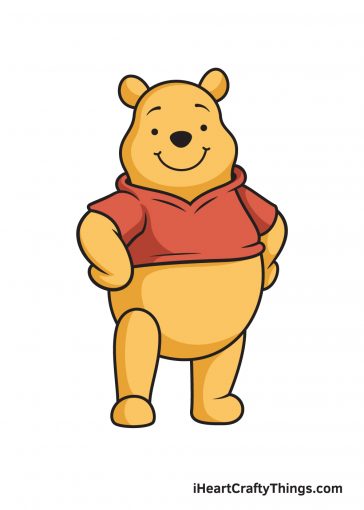
How to Draw Winnie the Pooh – Step by Step Guide
How to Draw A Squirrel – A Step by Step Guide
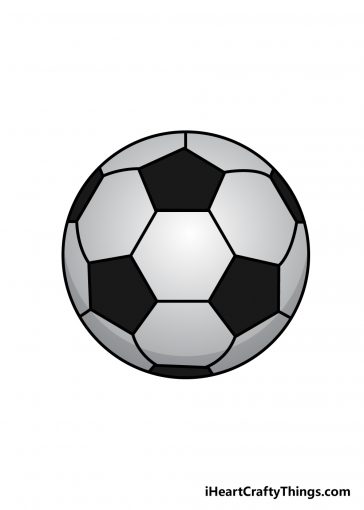
How to Draw A Soccer Ball – A Step by Step Guide
How to Draw A Whale – A Step by Step Guide
How to Draw A Snowflake – A Step by Step Guide
How to Draw A Sloth – A Step by Step Guide
How to Draw A Skeleton – A Step by Step Guide
How to Draw a Rose – Step by Step Guide
How to Draw a Ribbon – Step by Step Guide
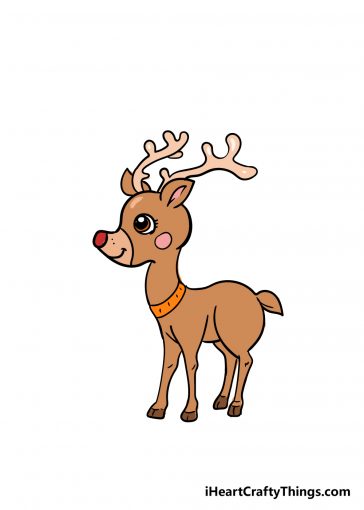
How to Draw A Reindeer – A Step by Step Guide
How to Draw A Puppy – A Step by Step Guide
How to Draw a Peacock – Step by Step Guide
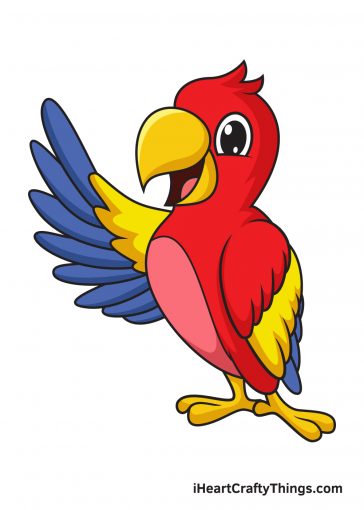
How to Draw a Parrot – Step by Step Guide
How to Draw A Panda – A Step by Step Guide
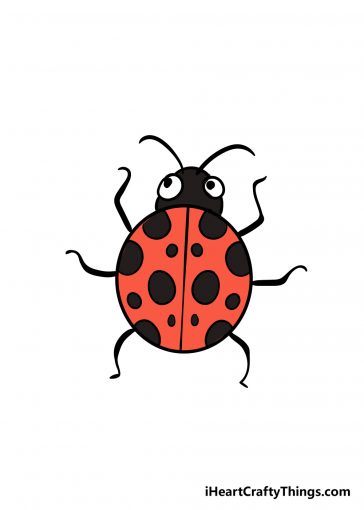
How to Draw A Ladybug – A Step by Step Guide
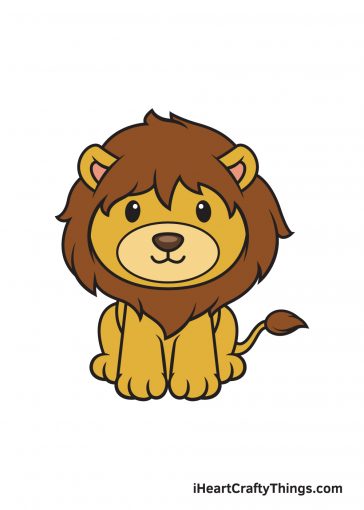
How to Draw a Lion – Step by Step Guide
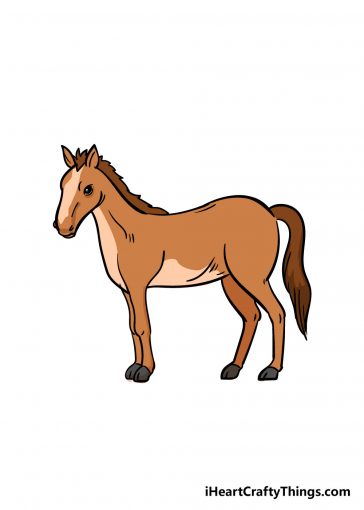
How to Draw A Horse – A Step by Step Guide
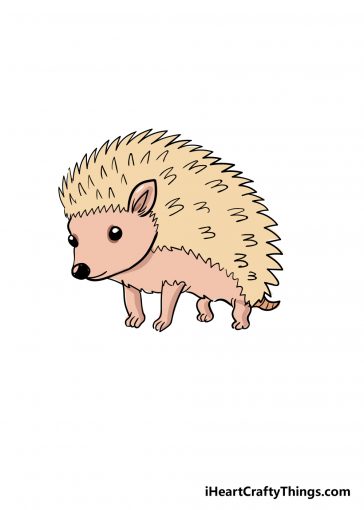
How to Draw A Hedgehog – A Step by Step Guide
How To Draw A Cartoon Heart – A Step by Step Guide
Load More
Congratulations. You've reached the end of the internet.
facebook
twitter
instagram
pinterest
youtube
Back to Top
Close
paper-mate-calendar-pens
KIDS CRAFTS
ANIMALS
OCEAN CRAFTS
INSECTS
BIRDS
PAPER PLATE CRAFTS
CUPCAKE LINER CRAFTS
BOOK INSPIRED CRAFTS
HOLIDAY CRAFTS
VALENTINE’S DAY
GROUNDHOG DAY
ST. PATRICK’S DAY
EASTER
EARTH DAY
MOTHER’S DAY
FATHER’S DAY
FOURTH OF JULY
BACK TO SCHOOL
HALLOWEEN
THANKSGIVING
CHRISTMAS
SEASONAL CRAFTS
WINTER
SPRING
SUMMER
FALL
Coloring Pages
How to draw
Shop
facebook
twitter
instagram
pinterest
youtube
Search for:
Search