Yesterday, when kids were getting in bed, we had fun playing “This Little Piggy” on their cute little toes. We have always loved that silly game, and I always let my kids take a turn to decide where they want each of their little piggies to go. Last night most of my youngest son’s little piggy’s went to McDonald’s, it was quite fun entertainment for me. But the best part of this week was getting to make our fun paper plate pirates.
Supplies needed:
- 2 paper plates (one is just for tracing)
- skin tone color paint
- paint brush
- 12″ x 12″ square of pirate-inspired fabric
- hot glue gun
- black sheet of construction paper
- one large wiggly eye
- black marker
- hole punch
- metal binder ring
Tutorial:
1. Paint your plate
Paint your paper plate with the skin tone color paint.
2. Trace other plate on fabric
While your child is painting the paper plate, take another paper plate and trace it onto your fabric square, then cut it out.
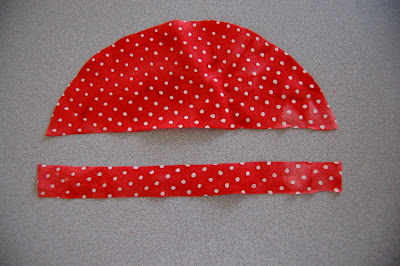
3. Cut your circle
Cut that circle in half. Then, fold your half circle up at the bottom about 3/4″, and cut that strip off.
You should be left with this.
4. Trace circle on black paper
Trace a circle onto your black construction paper and cut it out. My camera lens was the perfect size so I used that (so handy, I know).
5. Cut top of the circle
Once your circle is cut out, fold it over a little bit and cut that section off. We are making a pirate patch so you can choose how much you want cut off.
6. Glue fabric to the plate
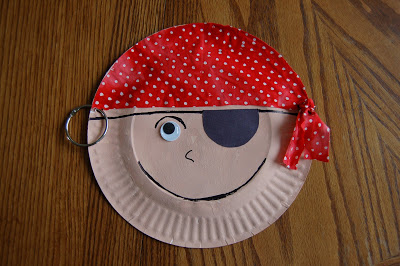
Once the paint on the paper plate is completely dry, you can begin assembling your pirate. Use your hot glue gun to glue the large fabric piece to your paper plate, lining it up with the edges. This forms the pirate’s bandanna.
7. Add eye & eye patch
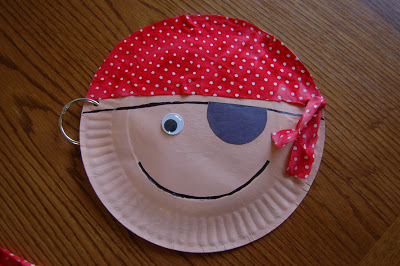
Glue on the wiggly eye and the black eye patch.
8. Draw line on top & a mouth
Use the black marker to draw a thick line all the way across the paper plate, joining up with the eye patch. This completes the eye patch. Then use the bottom circle of the plate as a guide to draw a mouth with the black marker. You can have your child do this part, just be careful that they understand there is no second chances with the black marker.
9. Make holes on both sides
Punch holes in each side of the paper plate.
10. Add ring and close it
On one side put your binder ring through and snap it closed to make the pirate’s earring.
11. Make a knot for bandana
On the other side, take that leftover piece of fabric, pull it through the hole, and tie a knot in it to finish your bandanna.
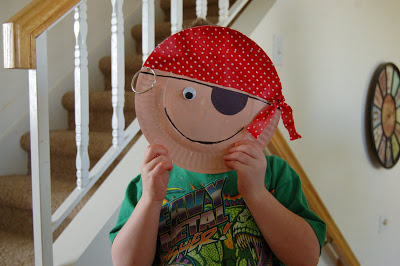
At this point my son had fun pretending he was a pirate and saying “Argh!…..”
12. Personalise it as you like
You can leave your pirate how it is, or you can have your child personalize it however they choose. My son drew a cool eyebrow and cute little nose on his. I really loved his finishing touches.