


In honor of Groundhog Day on Thursday, we made Paper Plate Groundhogs yesterday. Technically I think they could pass for Beavers also, but they all pretty much look the same, right?! 🙂

Supplies needed:
- Paper plate
- Brown Acrylic Paint
- 2 Large Wiggly Eyes
- Black Marker
- Ears, Nose and Teeth pieces (pattern found HERE)
- Craft Knife (Used by Parent, obviously!)
- 6 Toothpicks
Tutorial:
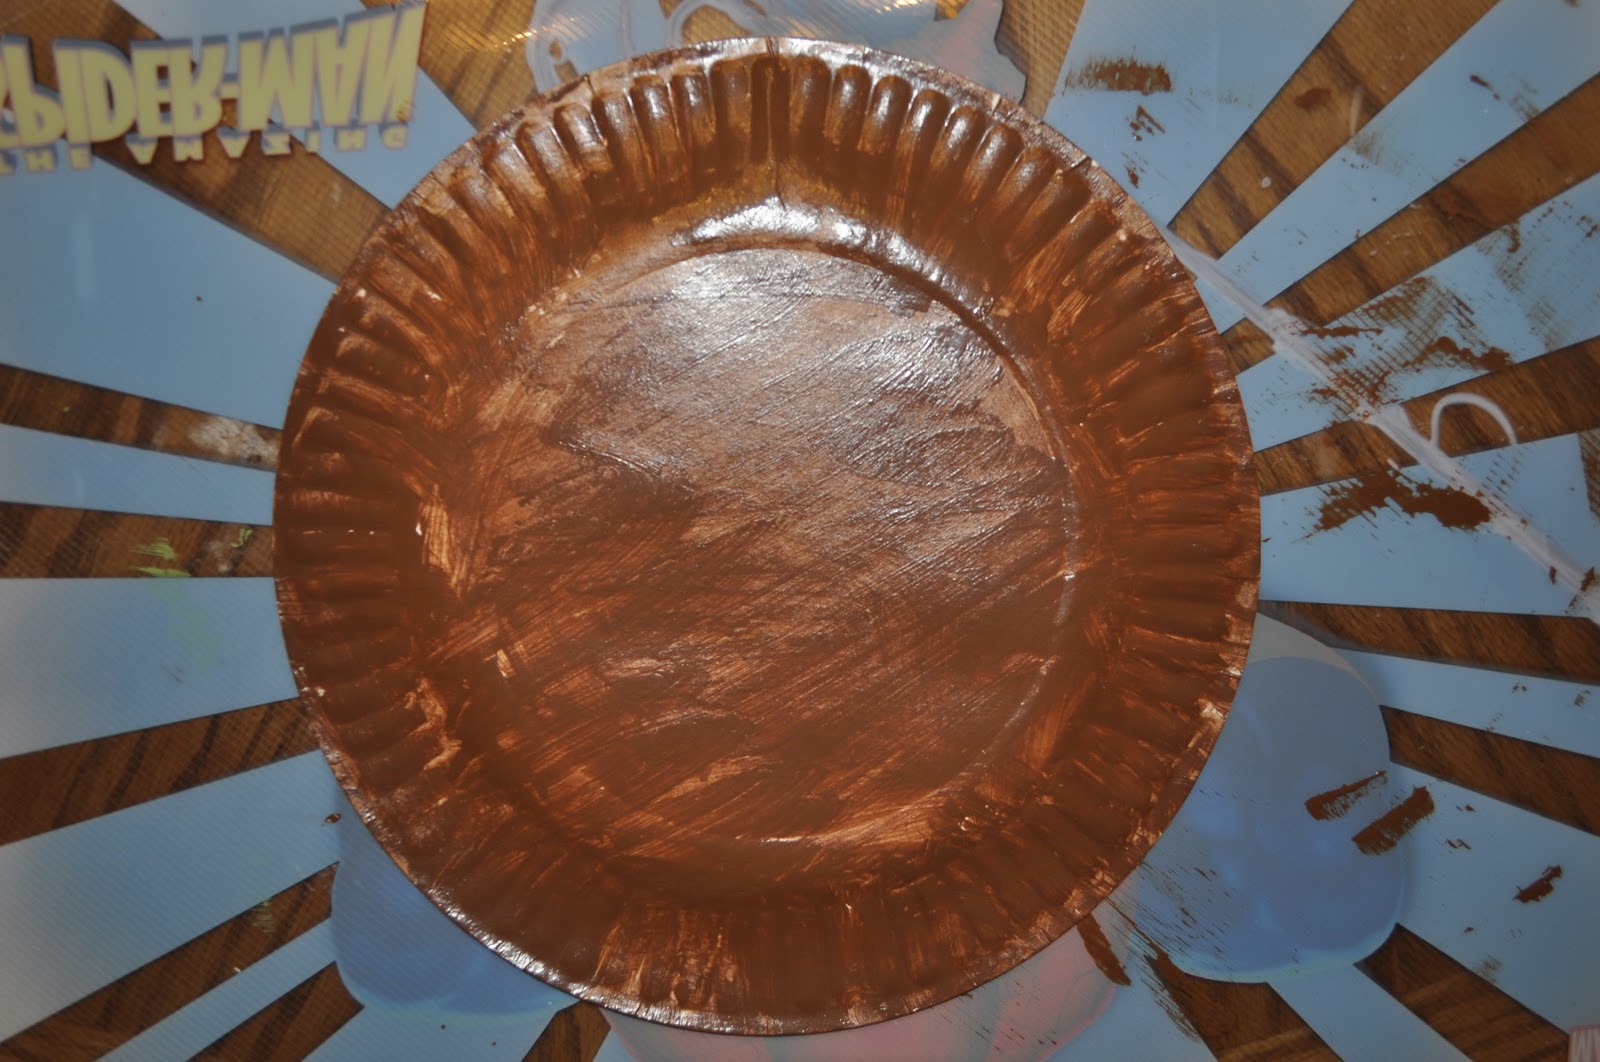
1. Paint your paper plate
We started by painting the bottom of a paper plate with brown acrylic paint.
2. Print your pattern
When the paper plate was completely dry, we started assembling it together. I free handed the ears, nose and teeth for the groundhog and made a pattern you can print off HERE. The nose will need to be on black card stock paper, ears on brown paper and teeth on white paper.
3. Glue face details
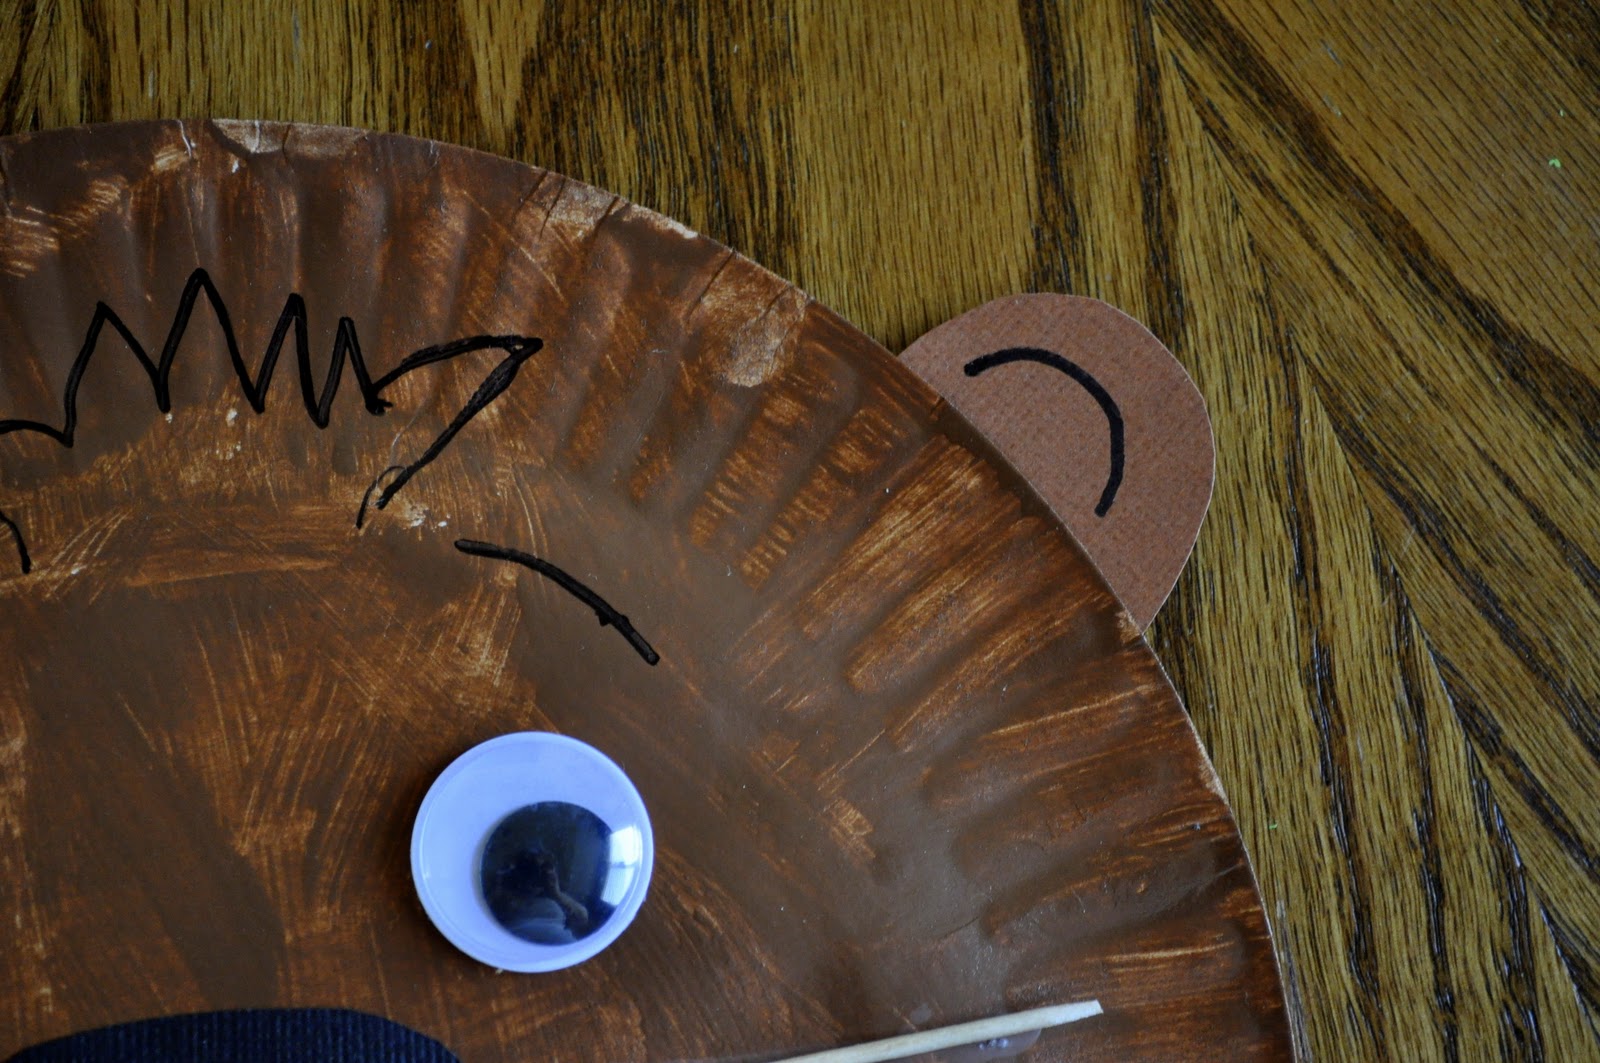
First, attach the black nose in the center of the paper plate. Then, glue on the wiggly eyes. Next, glue the ears to the back of the paper plate.
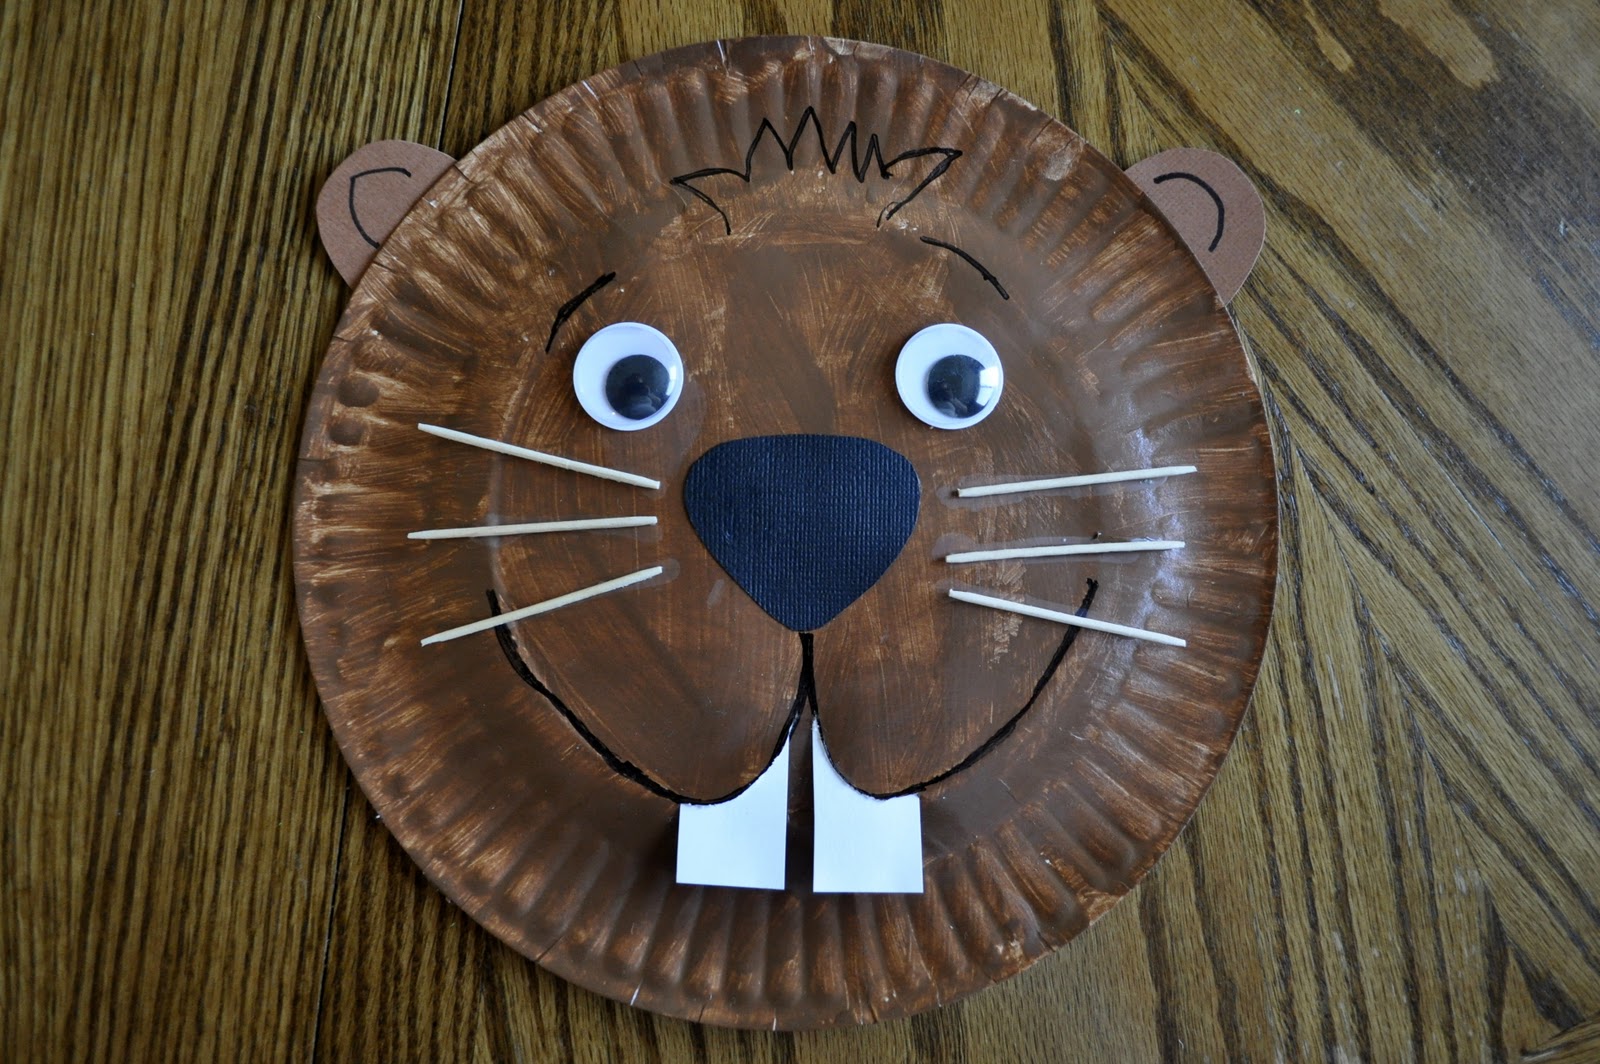
4. Draw mouth and glue teeth

Here is a picture of the mouth after I had cut the slits with the craft knife.

5. Draw face details
After the teeth were in place, the boys used the black marker to draw on eyebrows, make a line in the ears, and add hair between the eyebrows.
6. Glue whiskers
The final touch is adding 3 toothpicks on each side of the nose for the whiskers. If you have the flat toothpicks they are better, but since all I had was the round pokey ones, I just cut the ends off so they weren’t dangerous for the kids.

He sure is a cute little guy! Let’s hope he blesses us with an early Spring on Thursday. 🙂