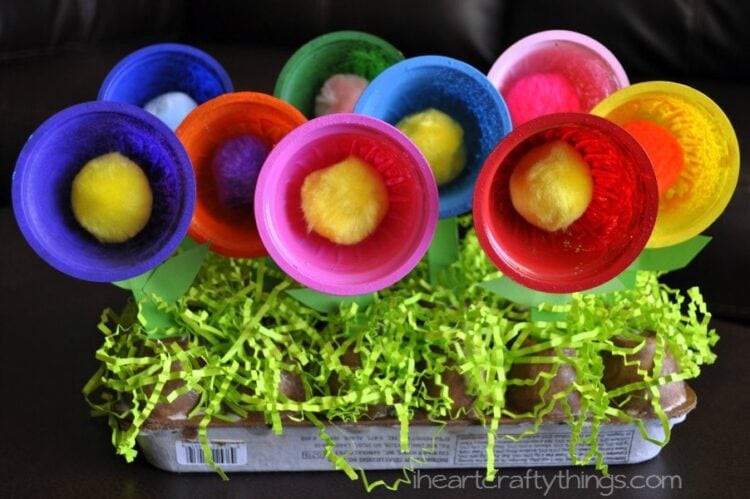
This spanned out to be a two day project for us. We painted everything one day and let it dry completely overnight. Then we finished assembling it the next day. It is now the centerpiece on our kitchen table and every time I walk by it, it is greeted with a cheery smile! I love Spring!
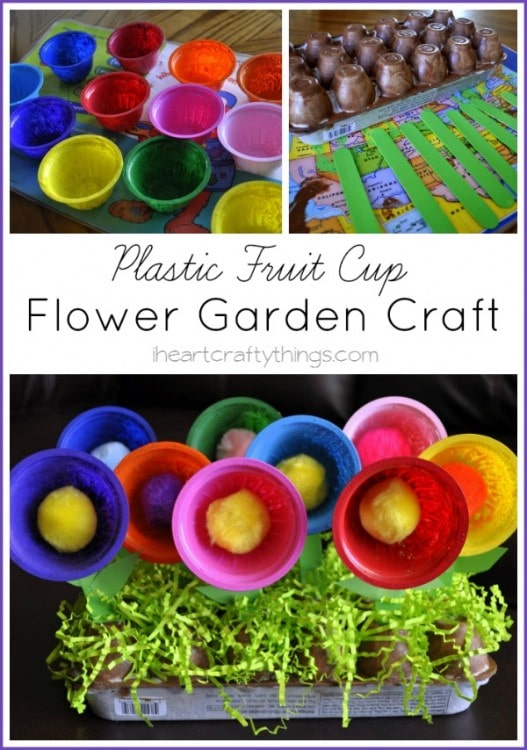
HOW TO MAKE A RAINBOW GARDEN CRAFT
Supplies you will need:
-an empty Egg carton (we used one for 18 eggs)
-plastic fruit cups (we used 9)
-colorful paint
-large wooden craft sticks
-large pom-poms
-green construction paper
-green Easter grass (we used the paper kind)
-craft knife (for adult use only)
-glue
Directions:
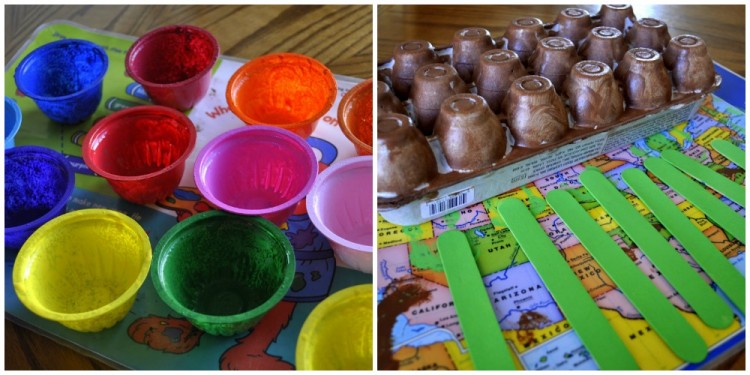
1. Start by painting the inside of your fruit cups all of the colors of the rainbow (No need to paint the outside). We threw in some pink and a couple different shades of blue as well. Also, paint your wooden craft sticks green and the bottom of your egg carton brown. We used acrylic paint. Let the paint dry completely.
2. Affix the bottom of the fruit cups to the wooden sticks. You can use tacky glue or school glue but since we are inpatient around this house, we used a hot glue gun.
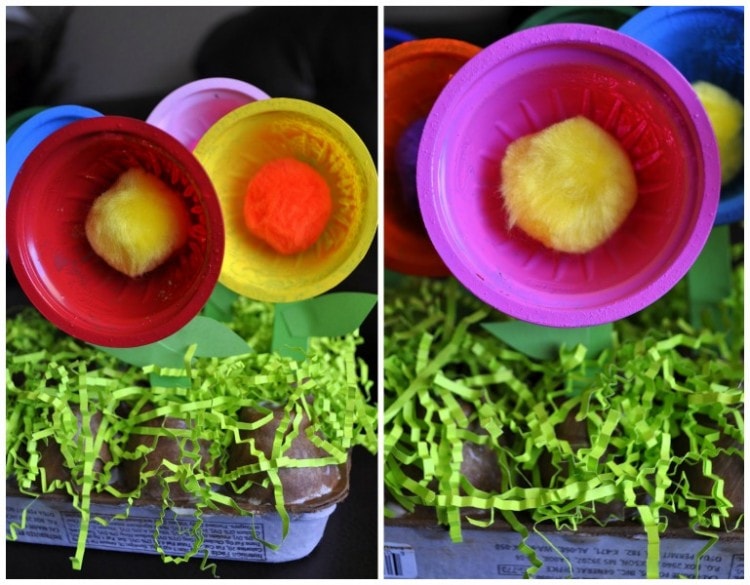
3. While you have the hot glue gun out, glue a large pom-pom in the center of each cup. Try to use a variety of different colors instead of just yellow. I let my kids choose the colors and place them inside the cups once I had put some hot glue in them. Then my kids cut some stems out of green paper and glued them onto the stems with school glue.
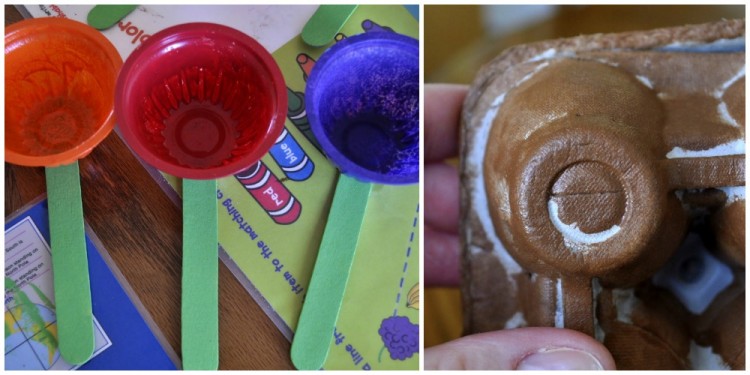
4. In order to poke the flowers into the egg carton, an adult will have to use a craft knife to cut a small slit in the middle of each egg carton section. You won’t be able to place a flower in each section because they will be too crowded, so scatter them out over the egg carton.
5. Now you can poke all of the flowers into the egg carton. Last, we diluted some school glue with a little bit of water and used a paint brush to paint it all over the egg carton. Then spread the green Easter Grass all over the egg carton.
You might also enjoy these crafts:
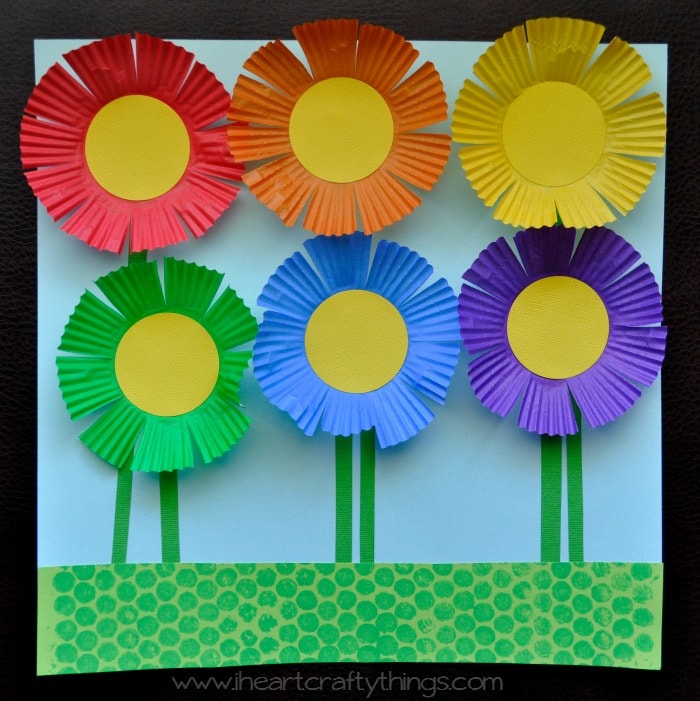
- Cupcake Liner Rainbow Flowers
- Preschool Flower Dice Game
- Paper Bag Butterfly Craft
- Tissue Paper Ladybug Craft
- Flower Garden Art