We recently picked up the book Snowballs by Lois Ehlert (affiliate) at the library. It is a simple story about building a snowman family after it snows and the different types of objects you can use to decorate your snowman. It was a fitting book for us since we’ve had tons of snow lately and my kids recently made a snowman with their Aunt Krista. Even though the book was about building snowmen, I couldn’t help but fall in love with Lois Ehlert’s beautiful illustrations in the beginning of the story. I love aspen trees and coupling them with snow and beautiful birds seemed like a perfect craft. We are excited to share our aspen tree and birds winter art project with you today!
{This post contains affiliate links for your convenience. Read our disclosure policy for more information.}
HOW TO MAKE ASPEN TREE WINTER ART
Supplies:
- bird pattern
- light gray or light blue cardstock paper
- white, brown, orange, gray, black and red (optional) cardstock or construction paper
- watercolors
(optional) - white paint
- pencil
- black crayon or oil pastel
- white sparkle tissue paper (optional)
- bird seed (optional)
- scissors
- glue
Directions:
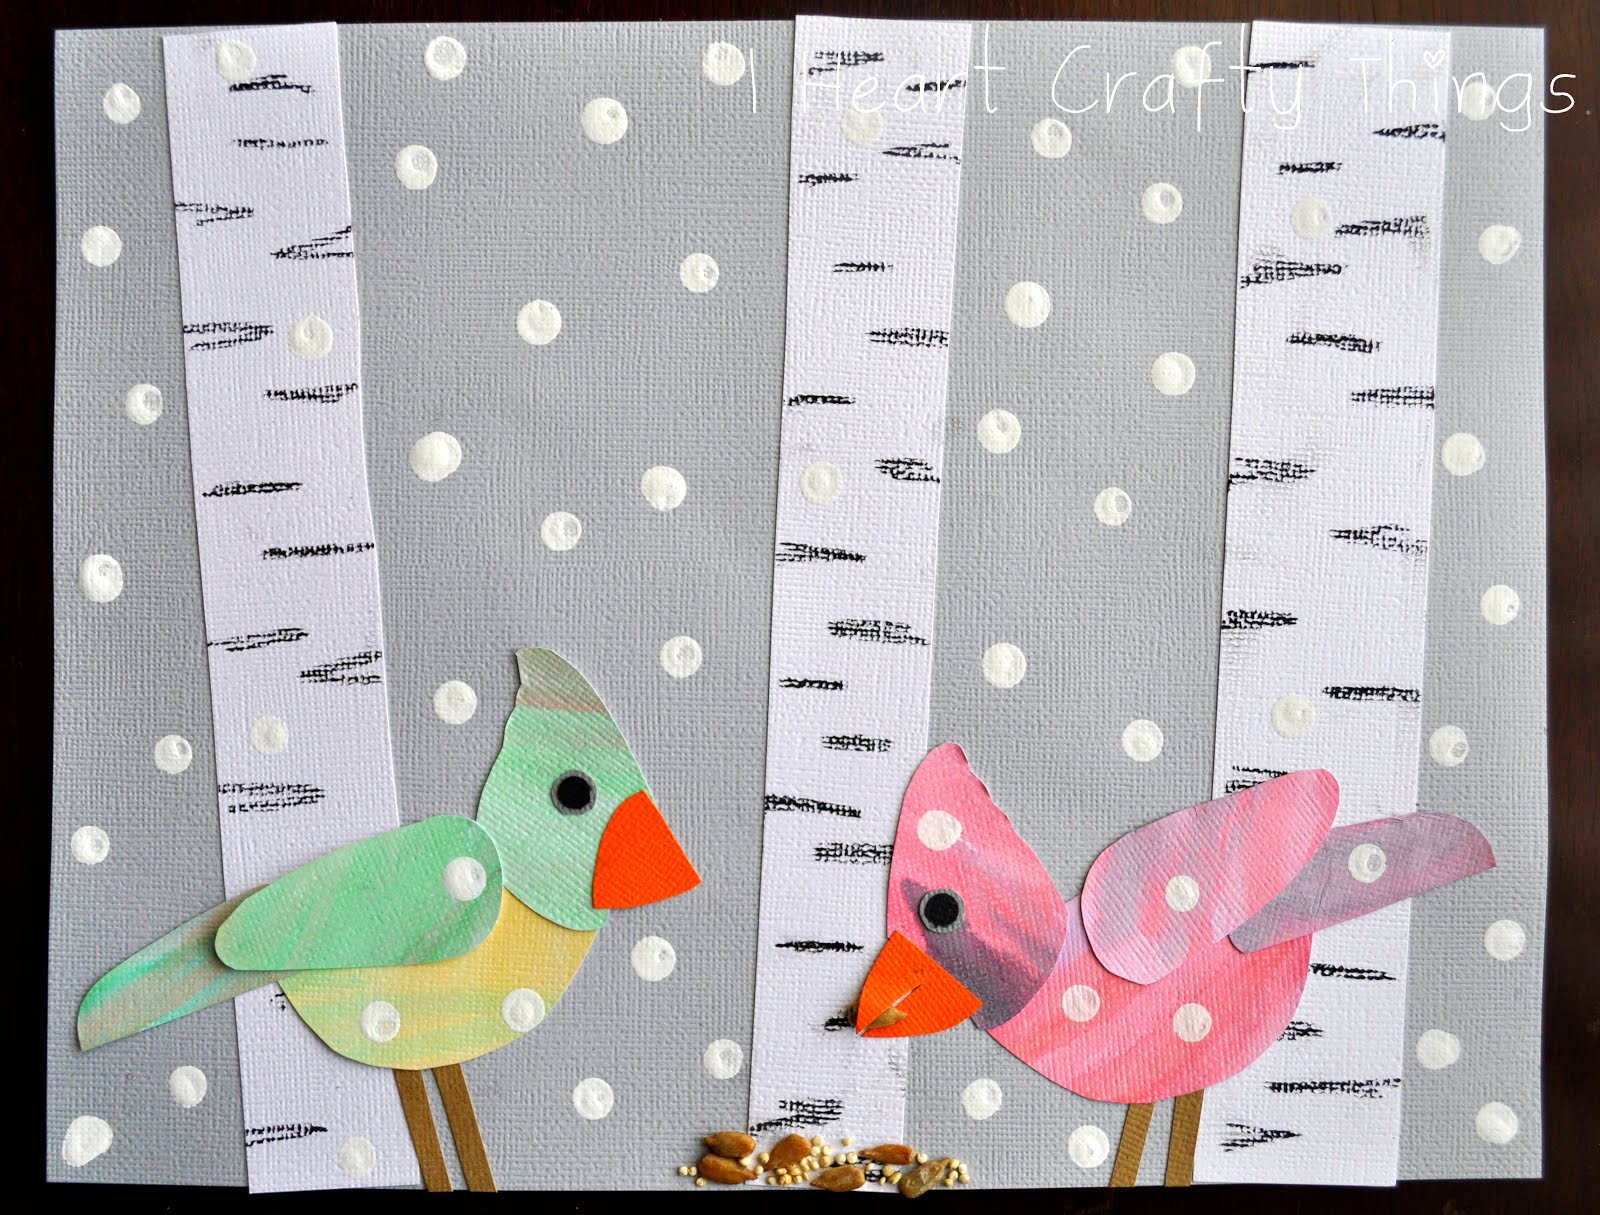
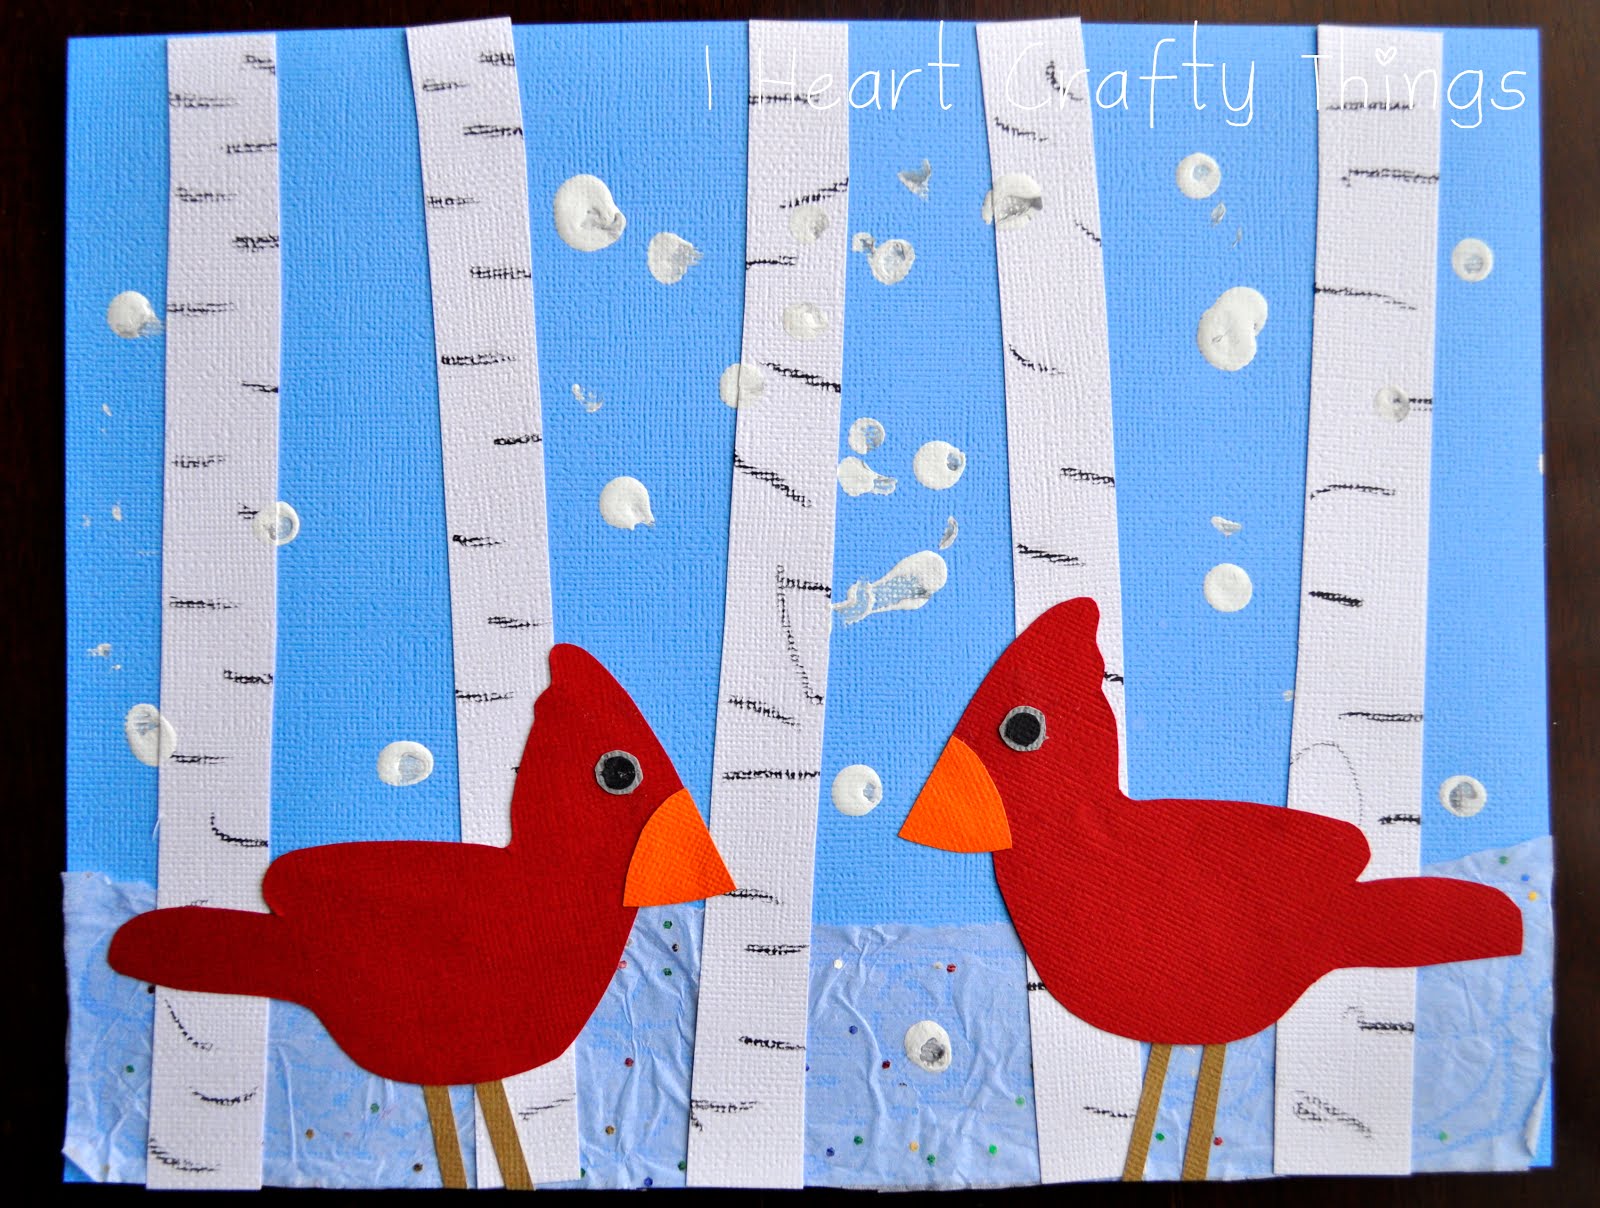
1. Start by cutting out strips of white cardstock paper for your aspen trees and use a black crayon to mimic the lines in the trees. Then glue them to your light gray or light blue cardstock paper. If you’d like, you can also glue down some glitter white tissue paper at the bottom of your paper, behind your aspen tree, so it looks like a layer of snow.
2. Print out the bird pattern. You can either make your bird a solid color like our red bird, or you can make a colorful watercolor bird. For the watercolor bird, paint an entire sheet of white cardstock paper with your watercolors. When your watercolors have dried trace the bird pattern pieces onto the back of your paper and then cut them out. Glue all the pieces together to make your birds.

3. Cut a beak and legs out of your orange and brown cardstock paper. Glue your birds onto your aspen tree art, together with the beak and legs.
4. Cut circle eyes out of your gray and black cardstock paper and glue them onto your bird. You could also use googly eyes.

5. If you’d like to mimic the book, you can glue bird seed at the bottom of your paper and even inside the birds mouth.

6. To finish the project, dip the eraser on the end of a pencil in white paint and dab it onto our paper to make the snow. As you can see in the picture, my toddler LOVED this part! You could also leave your artwork without the snow printed on.

You might also enjoy these crafts:
- Foam Cup Snowy Owl Craft
- Bottle Cap Printed Snowmen Craft
- Polar Bear Finger Puppet Craft
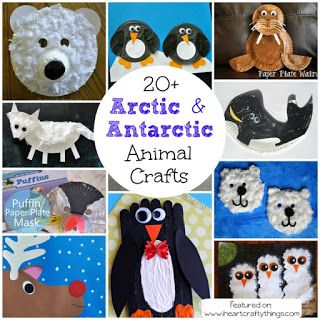
- 20+ Arctic and Antarctic Animal Crafts
- Newspaper Birch Tree Winter Art