


Easter is just around the corner, making it the perfect time to explore creative activities that bring joy and color to the holiday. Whether you’re a parent, teacher, or simply someone who loves getting crafty, these 21 DIY Easter crafts ideas for kids are sure to keep little hands busy and spark plenty of springtime excitement. Let’s hop right in!
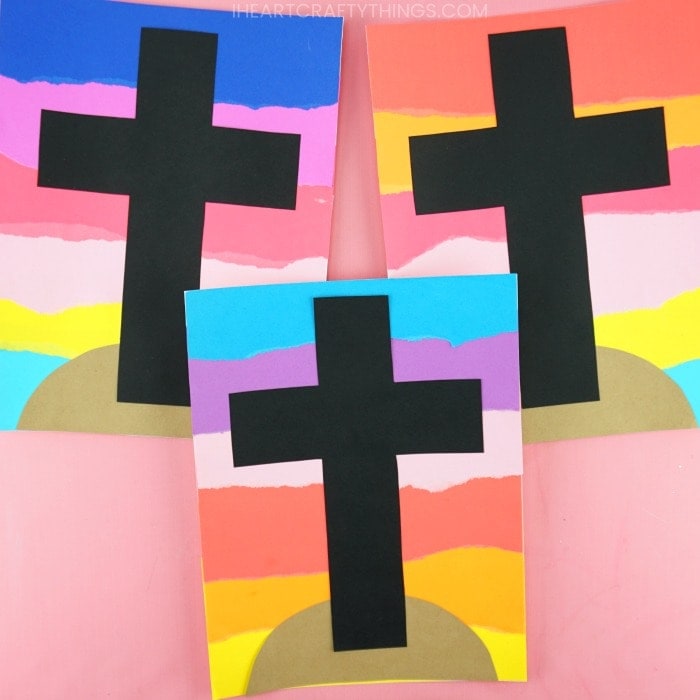
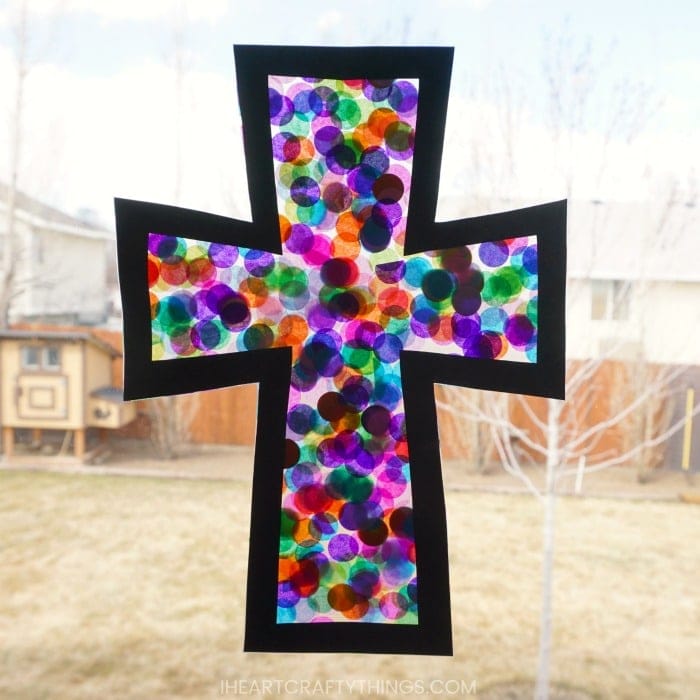
Vibrant Easter Egg and Cross Crafts
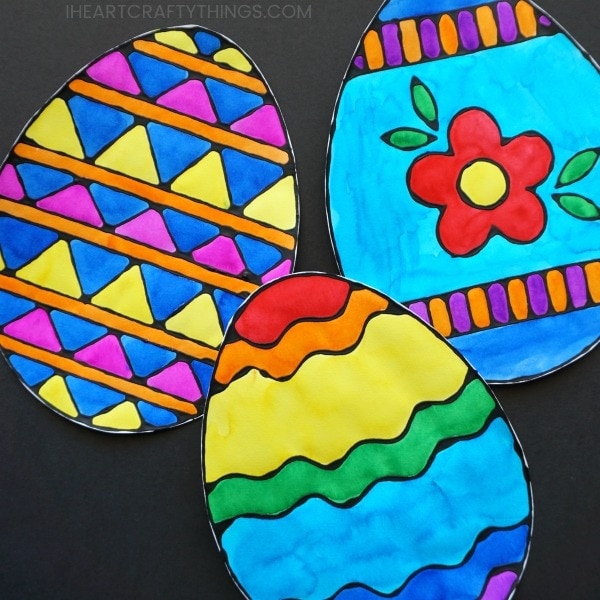
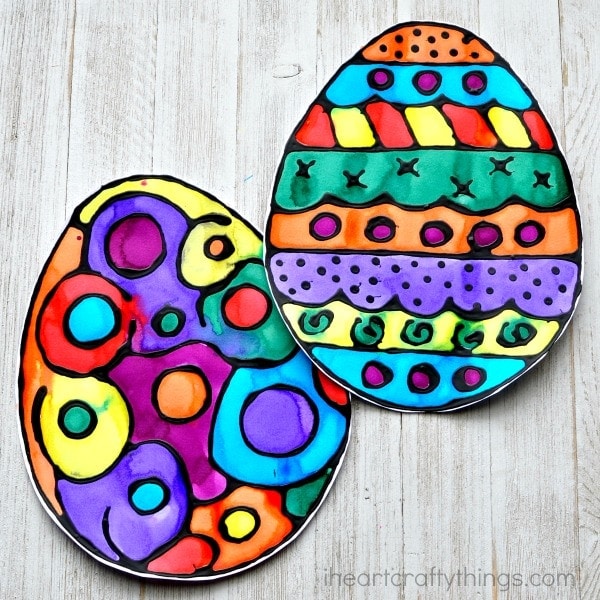
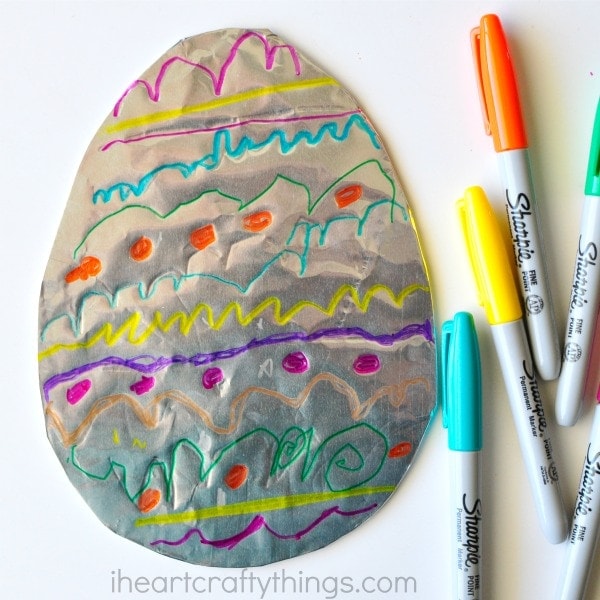
Nothing says Easter quite like bright eggs and meaningful cross art. These six projects capture the season’s spirit through color, texture, and creativity. Get ready to transform common materials into vibrant symbols of the holiday.
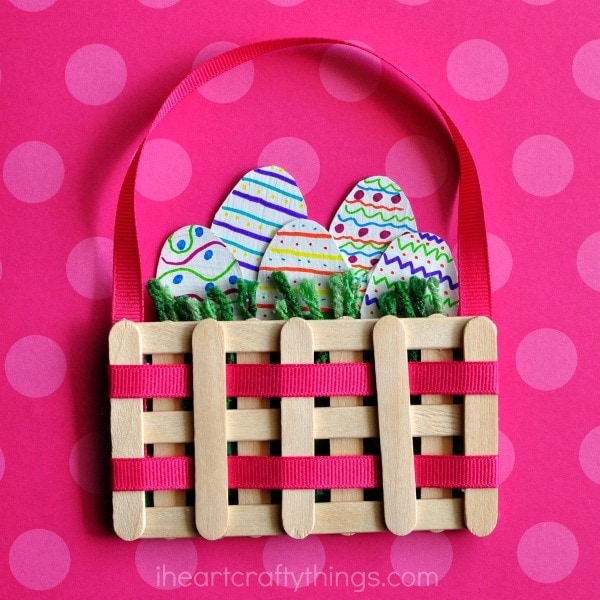
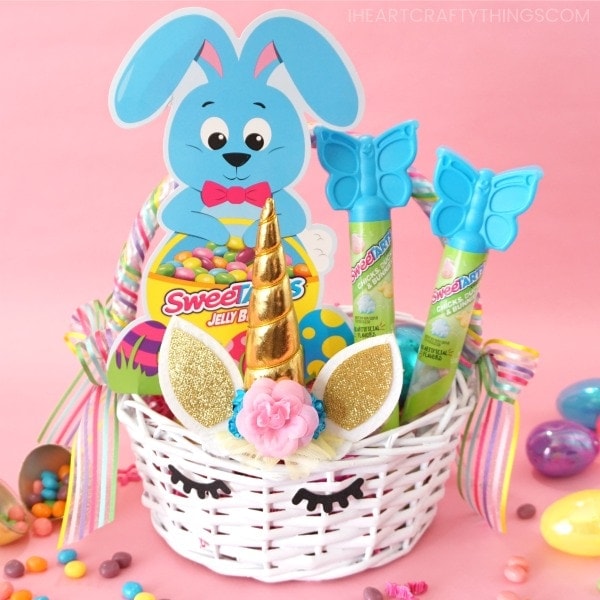
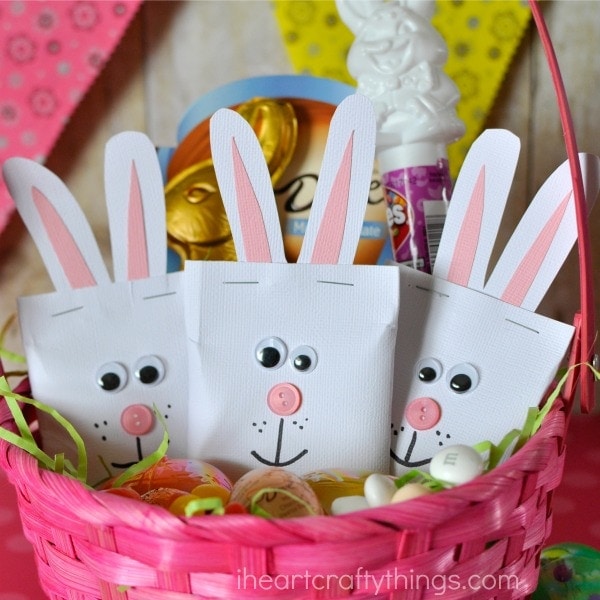
Easter Basket Projects
Gather candy, small trinkets, or decorated eggs in style. These basket-inspired crafts are perfect for little hands and showcase that DIY flair everyone will love. Turn simple materials into festive containers for all those Easter surprises.
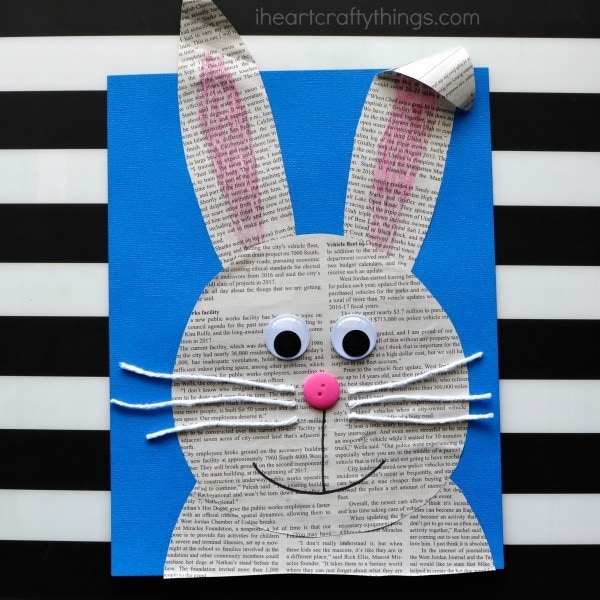
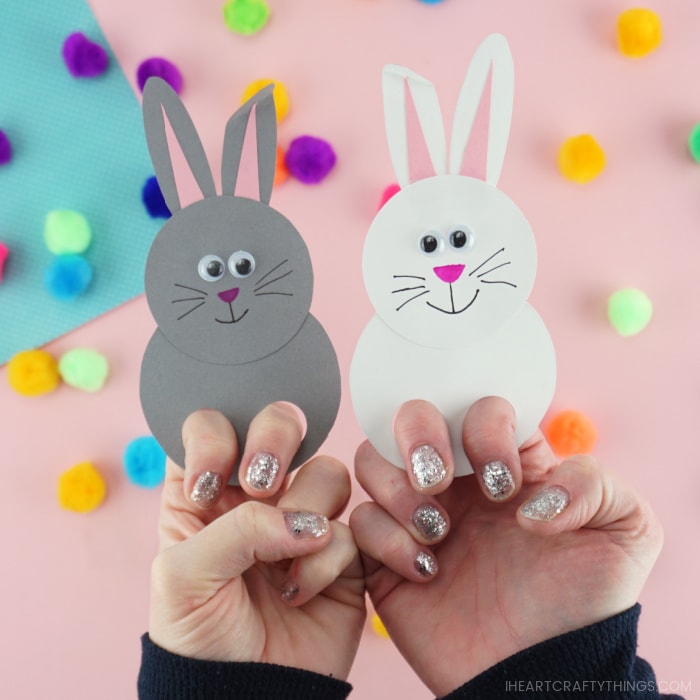
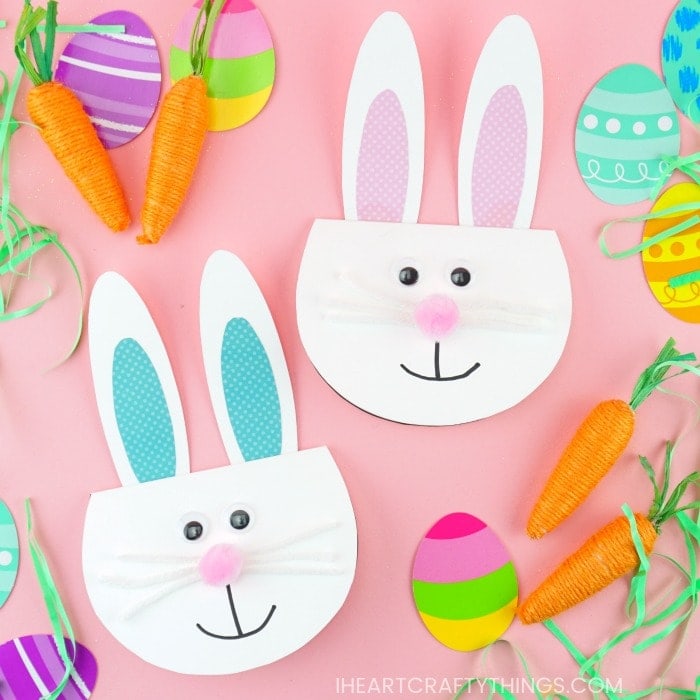
Adorable Easter Bunny Crafts
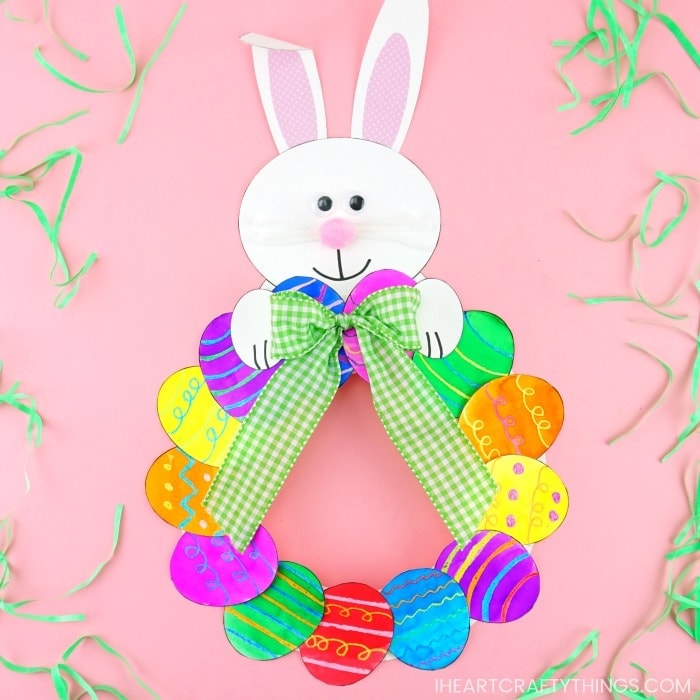
Hop into the spirit of the season with bunny-themed creations. Floppy ears, cotton tails, and sweet details come together to form delightful decorations or playtime pals. These projects capture the essence of Easter’s most iconic character.

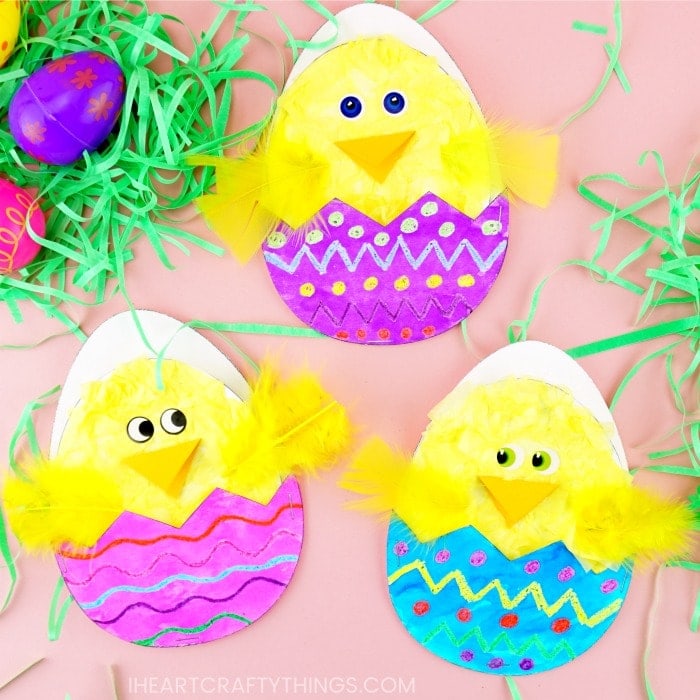
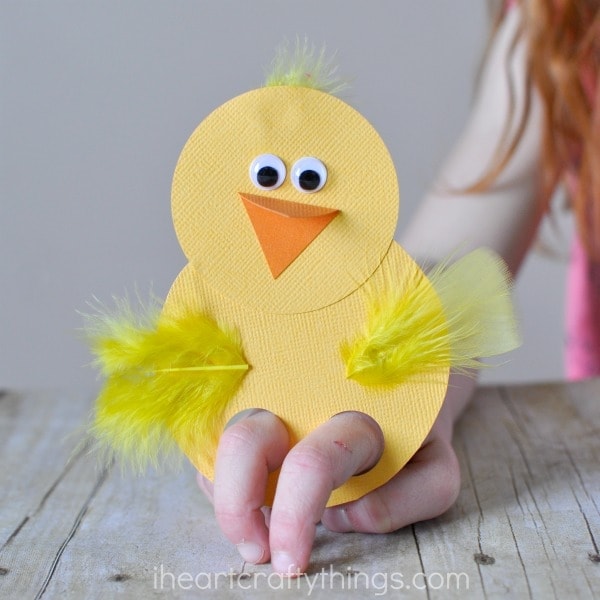
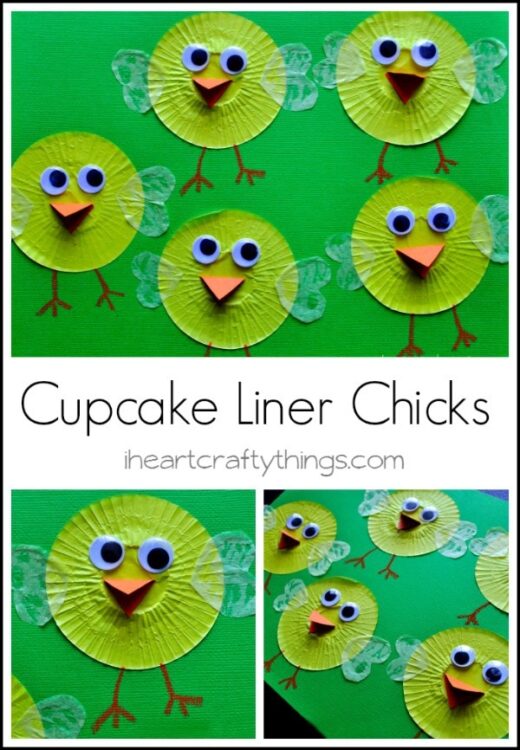
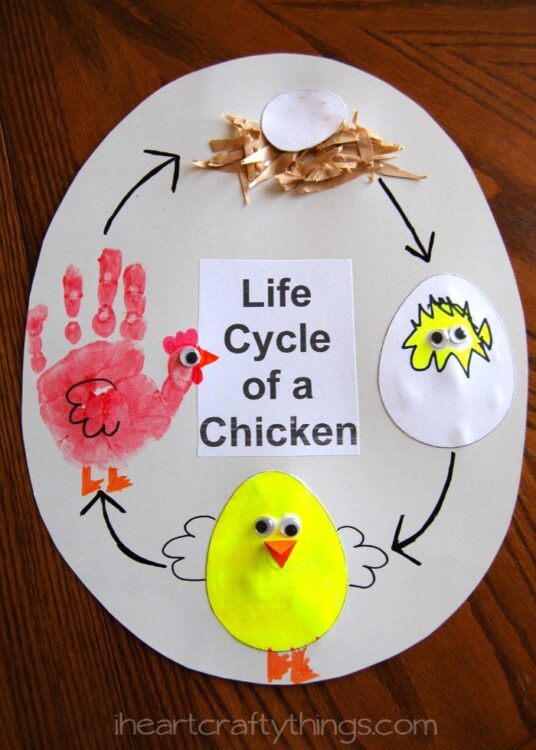
Cheerful Easter Chick Crafts
Easter chicks symbolize new beginnings and happiness. Help children explore the wonder of these fluffy friends through hands-on crafts that incorporate color, texture, and sometimes a bit of learning.
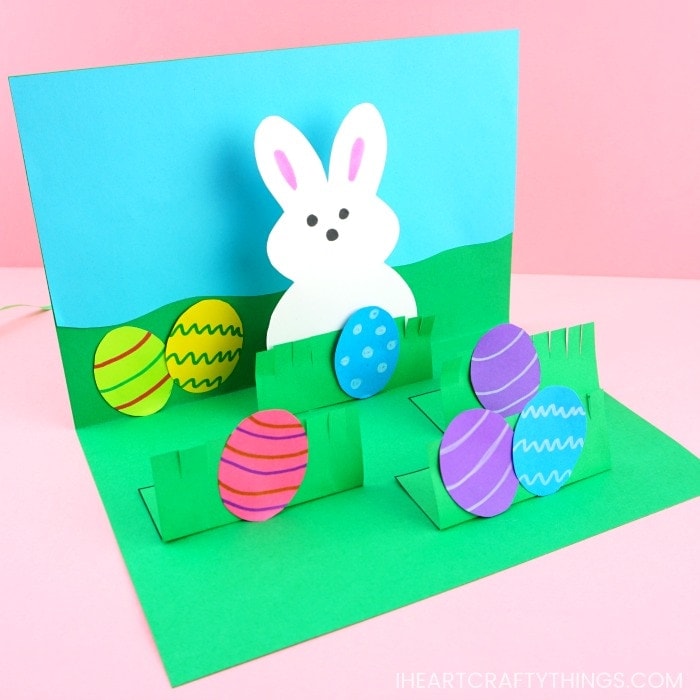
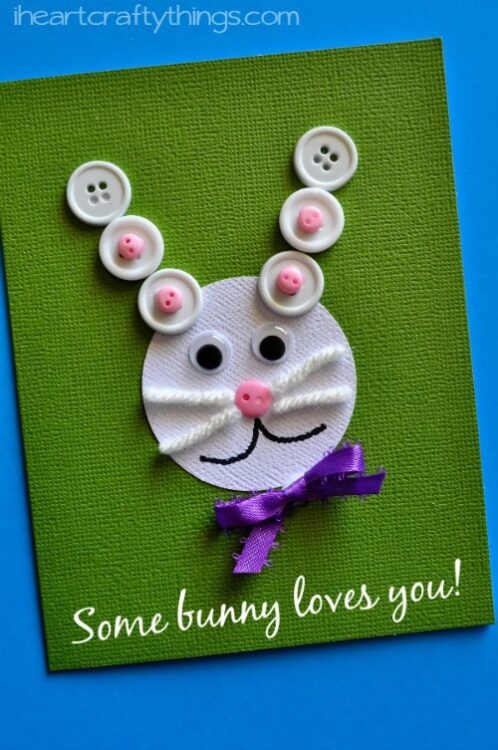
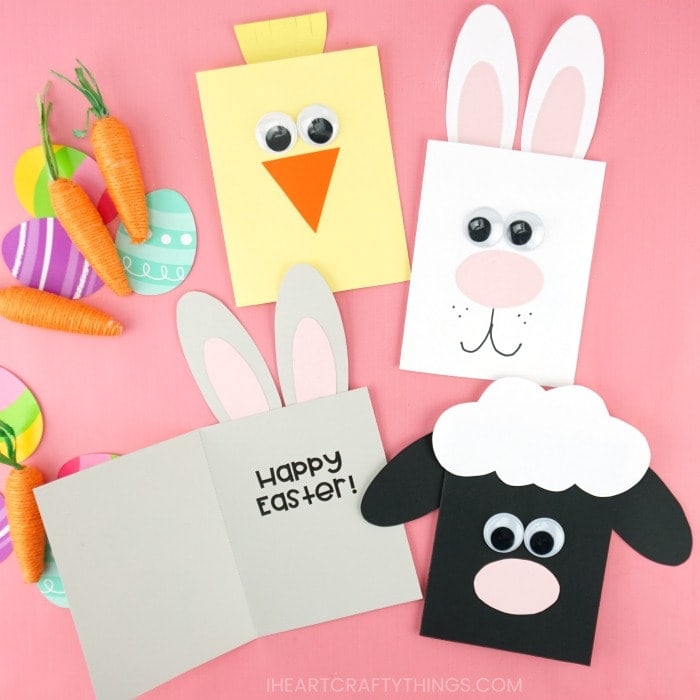
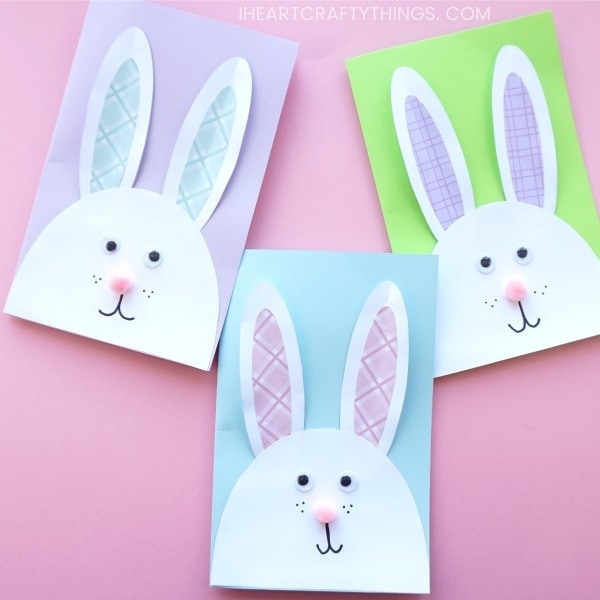
Easy Easter Card Ideas
Nothing beats a handmade card during the holidays. These Easter-themed creations are perfect for sending to loved ones or for displaying around the house as decorative pieces. Get crafty and spread some cheer!
Decorating Your Home with Easter Cheer
Infuse your living space or classroom with the bright energy of spring. From egg-filled centerpieces to bunny-themed wall hangings, incorporating Easter decor helps inspire a welcoming environment. Vibrant colors, soft textures, and playful designs can easily transform any room into a festive celebration of renewal.
Tips for a Smooth Easter Crafting Experience
A little preparation can turn creative chaos into an enjoyable session for both kids and adults. Here are a few pointers:
- Gather Supplies Early: Avoid mid-project delays by keeping all necessary items on hand.
- Use Kid-Friendly Tools: Rounded scissors and washable paint help maintain safety and cleanliness.
- Encourage Experimentation: Let children mix and match colors or materials for truly unique results.
- Protect Your Workspace: Tablecloths, newspapers, and aprons can save the day from spills.
- Share & Celebrate: Display finished crafts or give them as gifts to spread Easter joy.
Celebrate Spring with Easter Crafts
From vibrant eggs and playful bunnies to heartfelt cards and baskets brimming with treats, Easter Crafts offer a delightful way to welcome the season.
Each project invites children and adults alike to explore creativity, celebrate togetherness, and add a personal touch to their holiday celebrations. Let these simple, joyful ideas spark fresh inspiration for family fun and festive décor.