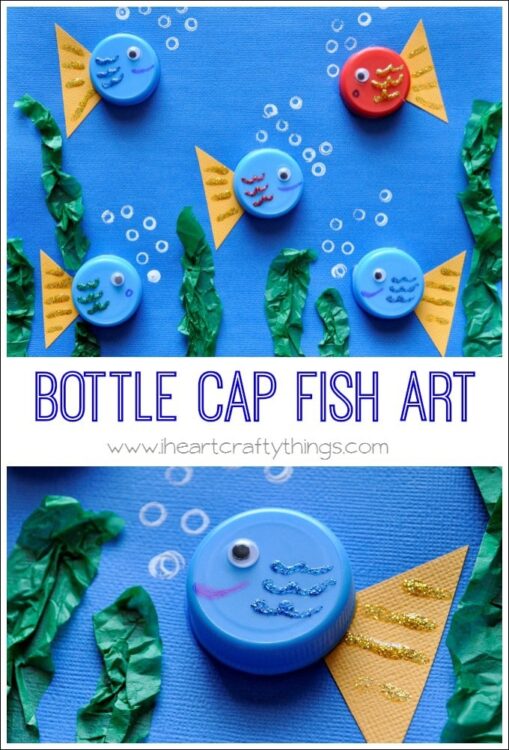
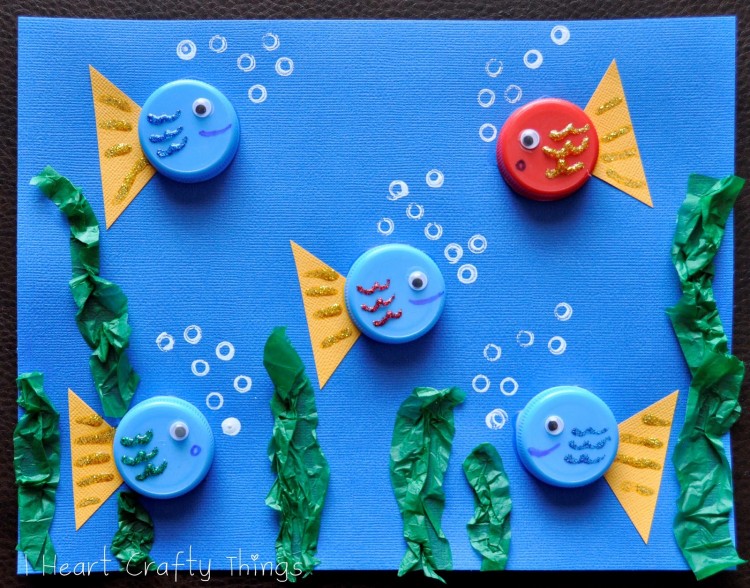
I’ve been saving up our milk lids and decided it was perfect timing to get crafting with them. We turned our bottle caps into this darling Fish Scene and you won’t believe how simple it is to create.
This post contains affiliate links for your convenience. Read our Disclosure Policy here.
Supplies you will need:
- blue and colored cardstock paper
- bottle caps (we used milk caps)
- wiggly eyes
- black marker
- green tissue paper
- glitter glue
- white paint
- paper straw
- 2 small small paper plates
- school glue
Directions:
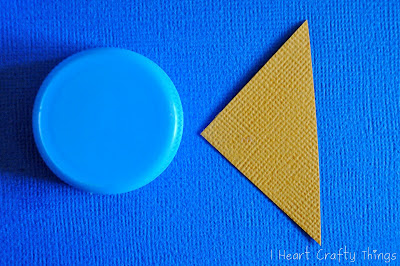
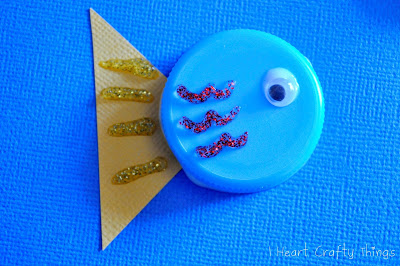
1. Cut out triangle fish tail, glue tail and bottle cap onto blue cardstock
To make the fish you need a milk cap and a triangle shape cut from cardstock paper. Start by gluing the triangle down on a blue sheet of paper. Squeeze some school glue onto one of your paper plates. Dip your bottle cap into the glue to give it a generous amount all around the rim and then glue the milk cap down overlapping the triangle to make the fish shape.
Continue adding fish all over your paper.
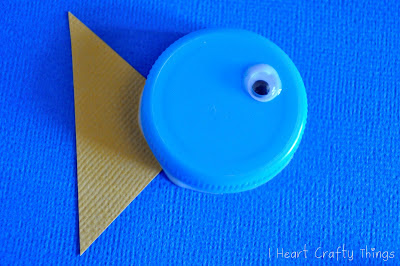
2. Glue wiggly eye
Finish fish by gluing on a wiggly eye.
3. Make scales on the fish
To make the scales on our fish, we used fun Rainbow Glitter Glue. I LOVE using glitter glue because it gives the same effect as traditional glitter, but without all the mess. Make scales on the bottle cap and also lines to define the tail fin. The variety of colors made this extra fun for the kids.
4. Draw a mouth
Use a black marker to draw a mouth on your fish. It probably would have been easier for the kids to draw the mouth on before using the glitter glue (just a heads up) that way they don’t accidentally smear glitter glue on their fingers or all over their fish.
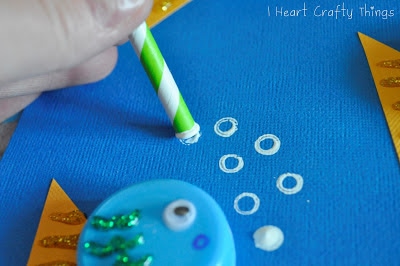
5. Draw bubbles with paper straw
To make the bubbles, dip the end of a paper straw in white paint and then pressed it onto your paper. The key to getting this to work properly is to make sure the white paint doesn’t bubble over the hole at the end of the straw. Every time we dipped the straw in the paint we had to turn it up and blow into the straw to pop the bubble if there was one. If you don’t blow the bubble out, you will just get a solid circle. (You can see what I mean with the solid circle bubble in the picture below)
6. Create water plants
Now you can stop right here and enjoy your fishy scene, but if you want to add more detail to your scene you can crunch up little strips of green tissue paper and glue them to the bottom of your paper to make water plants.
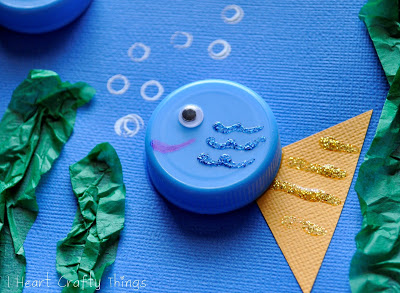
Doesn’t this little fish look so happy to be swimming in the plants?!!
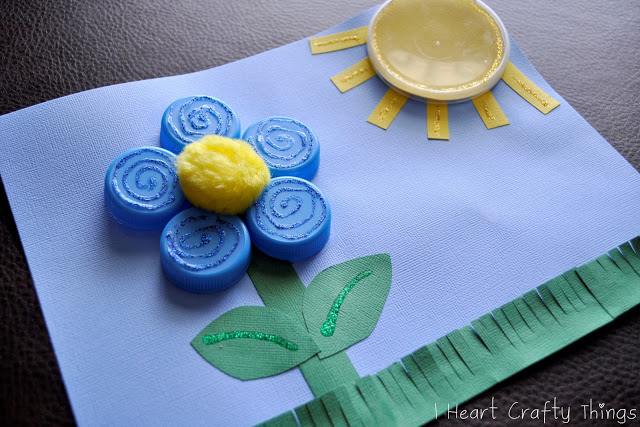
Here is another scene I whipped up with more of our caps.
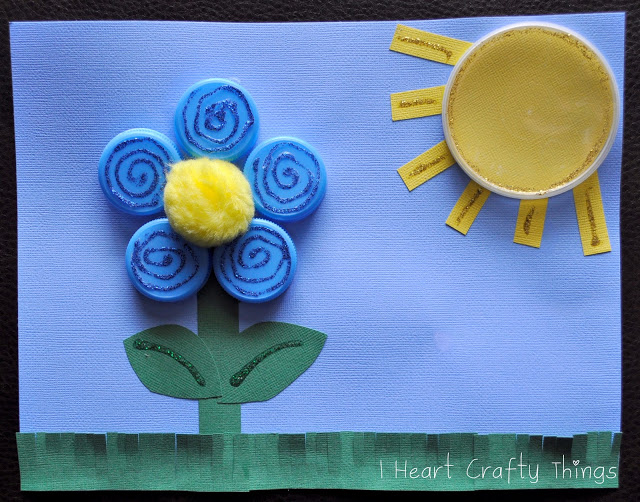
I used the milk caps for the flower petals and a large yellow pom-pom for the center of the flower. The sun is made out of a Pringles lid. I cut a yellow circle that would fit inside the lid and glued it inside of it. The sun rays are strips of yellow paper and the flower stem, leaves and grass are cut out of green paper. I cut and frayed the strips of green paper for the grass before gluing them down. The glitter glue gave it some much needed pizazz.