


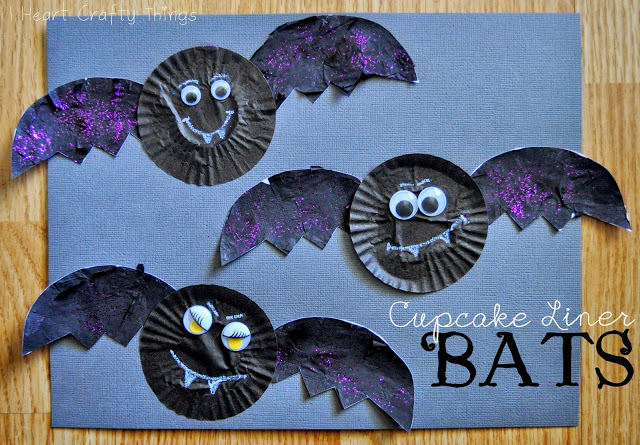
We were in the mood for a Halloween craft today so we made cupcake liner bats. My 3yr old suggested we use purple glitter on our bats and I couldn’t have been more pleased with her idea!
This post contains affiliate links, read our Disclosure Policy for more information.
Supplies you will need:
- 1 grey cardstock paper
- 1 white cardstock paper
- 3 mini black cupcake liners
- school glue
- black tissue paper
- purple glitter (optional)
- paint brush
- googly eyes
- white crayon
- glue stick
How we made our Bats:
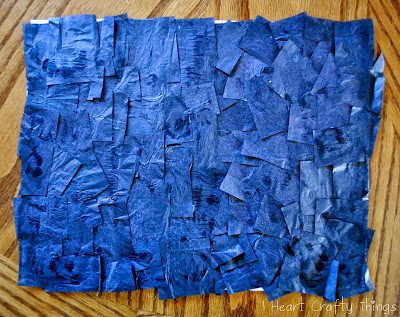
1. Glue black tissue squares all over a piece of white cardstock
Instead of just using regular black paper for the wings, we wanted to create some texture to them, so we started by gluing black tissue squares all over a piece of white cardstock paper and let it dry completely. My daughter loves using the tissue paper squares so we seem to use them often.
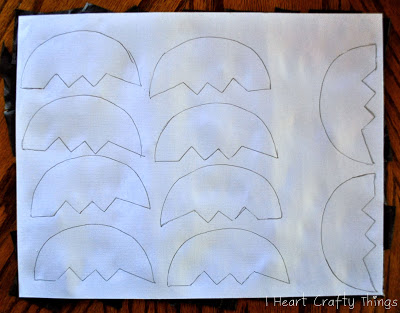
2. Trace a bat wing pattern on the back of white cardstock
Once it was dry, I turned it over and traced a bat wing pattern on the back of it for all of our wings. (I just free-handed the bat wing on a separate piece of paper to use for our pattern.)
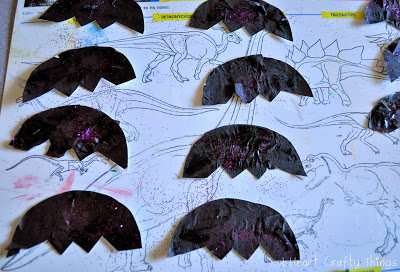
3. Cut out wings, brush some glue on the front of each and sprinkle glitter
Cut out all of the wings, lay them out, and brush some school glue on the front of them with a paint brush. Then sprinkle purple glitter all over them. You can dump any excess glitter into the trash can.
4. Create bats
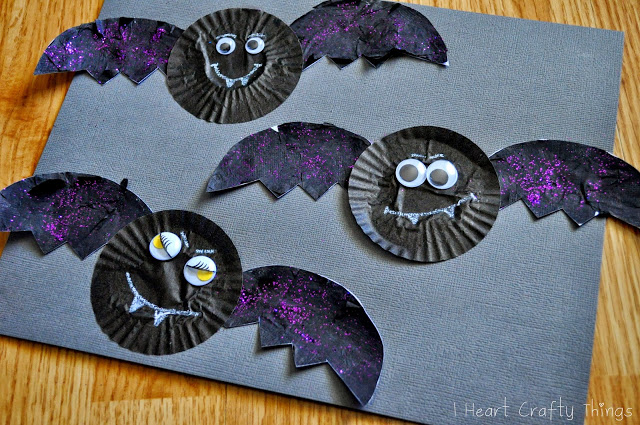
Once the wings were dry, we glued our bats onto our grey cardstock. Start by gluing on the cupcake liners, then a wing on each side. Finish your bats by gluing on googly eyes and use a white crayon to draw on the mouths.
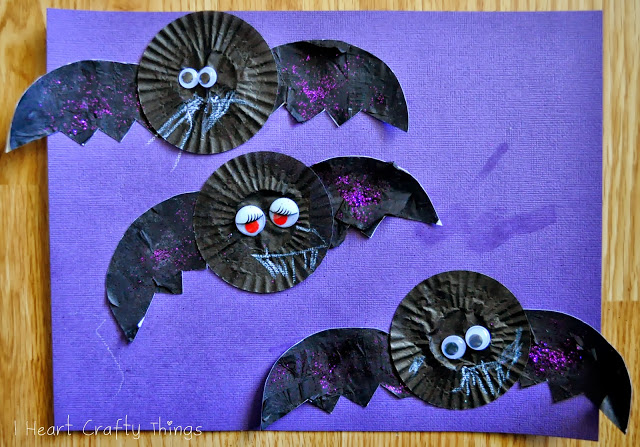
Here is how my 3yr old’s bats turned out. She wanted a purple paper to match her purple glitter.
If you are looking for a simpler way of creating this craft with a larger group, you can skip out on the tissue paper wings and just use black paper sprinkled with the glitter (or leave out the glitter entirely).
