- 12 inch x 12 inch green cardstock paper
- paper cups or cardboard tube (circle shape for stamping)
- acrylic paint
- small paper plates
- brown cardstock paper
- yellow cardstock paper
- scissors
- glue
- gold glitter
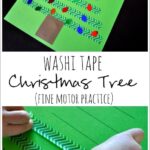
1. Cut a Christmas tree shape out of a 12″ x 12″ green cardstock paper. I drew my tree out in pencil first and then cut it out.


4. While the paint is drying, cut a star out of your yellow cardstock paper. Cover it in school glue and sprinkle gold glitter all over it. Pour off any excess glitter.

5. After the star is dry, glue it to the top of the tree.

6. Cut a trunk out of brown cardstock paper and glue it to the bottom of your Christmas tree.

My daughter’s tree turned out so lovely! It makes such a cheerful and beautiful decoration around the house too!
Try coupling this craft with Mr. Willowby’s Christmas Tree by Robert Barry!
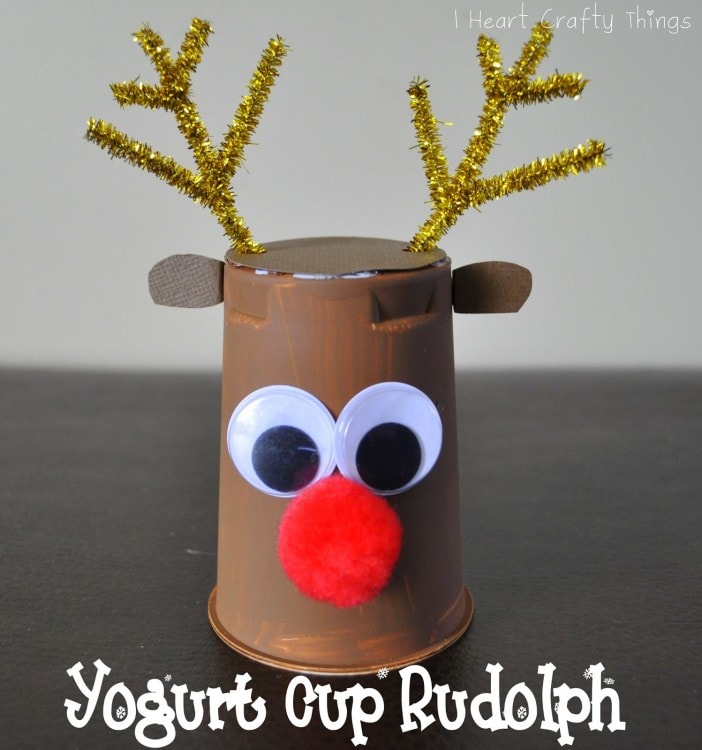
You might also enjoy our Rudolph Reindeer Craft!
Follow I Heart Crafty Things on Facebook, Pinterest,
Google+, Twitter, and Instagram!