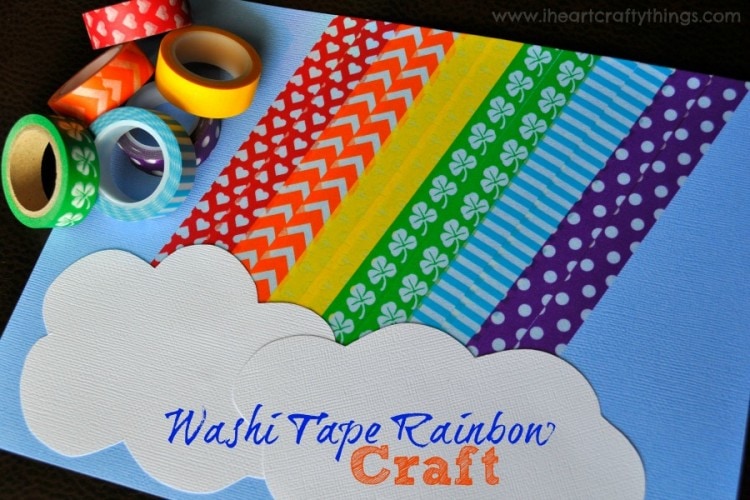
It’s a week before St. Patrick’s Day and we just had to get one more Rainbow Craft in. We love washi tape crafts at our house! I pulled out my collection from my craft closet and picked out one of every color of the rainbow in different patterns for our rainbow project.
This post contains affiliate links for your convenience. Read our Disclosure Policy for more information.
Supplies you will need for this project:
Directions:
1. Draw lines on a cardstock paper
To make the project easier for my three year old, I first drew 12 lines one-half inch apart on a blue piece of cardstock paper about 3/4 way down the paper. This way she knew exactly where to place her tape.

2. Attach washi tape strips in color order of the rainbow
Cut strips of tape, in color order of the rainbow and place them on the lines drawn on your paper. We did two strips of tape per color to make our rainbow bigger. Don’t worry about any tape hanging over the top of the paper because you can just fold it over the back of the paper.
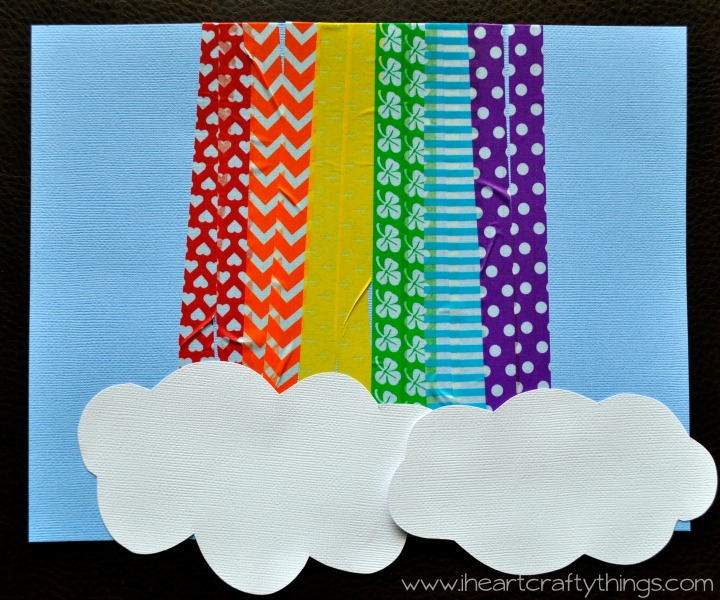
3. Cut out clouds and glue them at the bottom of the rainbow
Cut out a couple clouds from your white sheet of cardstock paper and glue them to the bottom of your washi tape rainbow. Here is my daughter’s rainbow craft.
I put my washi tape on my paper at more of an angle. I love how it looks at an angle, but I kept it a straight line for my three year old to make it easier for her. Choose what works best for your child.