{This post contains affiliate links for your convenience. Read our full disclosure policy for more information.}
I have to note that although we made this craft while learning about Native Americans, we learned that the Wampanoag tribe that helped the pilgrims for the first Thanksgiving actually lived in wigwams, not teepees. Since our studies focused on more than the Wampanoag tribe, it was a fun opportunity to learn about how different tribes lived differently.
If you have been looking for an American History homeschool curriculum I definitely recommend taking a look at All American History Junior. This is not an affiliate link, we have just really enjoyed the curriculum thus far this year.
Sign up for our newsletter to keep up with all of our latest crafts and activities!
HOW TO MAKE A FAUX LEATHER TEEPEE CRAFT
Supplies you will need:
- brown paper grocery bag
- glycerin
- water
- small bowl
- oil pastels
- sponge brush
- small sticks or skewers
- scissors
- glue stick
Directions:
1. Start by cutting out a half circle from your brown paper grocery bag for your teepee. Then cut a small half circle in the center of the straight edge of the half circle.
2. Crinkle up the shape you just cut out into a ball. Dunk it into a bowl of water to get it all wet and then unfold it and set it aside to dry.

3. When the paper bag shape has finished drying, get out your oil pastels and draw designs and symbols on your teepee.
4. Make a solution of 2 parts glycerin to 3 parts water. We used 2 Tbsp glycerin and 3 Tbsp water. After the solution is mixed thoroughly together, use a sponge brush to sponge the solution onto the paper bag pieces until it is wet again. Let the pieces dry for about 24 hrs.

5. After about 24 hours our paper bag pieces were dry. They glycerin adds moisture and shine to the paper bag so it almost doesn’t seem dry, but it really is. The wrinkles set in and it was a bit darker. The paper bag was thinner and super soft, just like soft leather. The oil pastels still held their bright color too.
6. Put a thick line of glue with a glue stick along one of the straight edges of the paper bag piece and then roll the other straight edge around to glue them together to make a teepee shape.

7. Cut a slit in the teepee to make an entrance and then add some sticks or wood skewers inside the top of the teepee to finish it. We didn’t attach all of our skewers together because we have our teepee’s sitting up on a shelf on display, but if you are making these in a classroom, you might want to use a rubberband or glue to attach them all together.

All three of my children enjoyed making this craft (ages 5, 8 and 10) so it is a great activity for the whole family to enjoy.

You might also enjoy these crafts and activities:
- Styrofoam Cup Pilgrim Hat Craft
- Tortilla Teepees
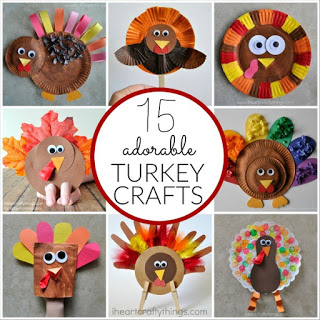
- 15 Terrific Turkey Crafts for Kids
- Turkey Craft with Color Matching Activity
- Turkey Alphabet Match Printable
Follow I Heart Crafty Things on Facebook, Pinterest and Instagram for more crafty fun!