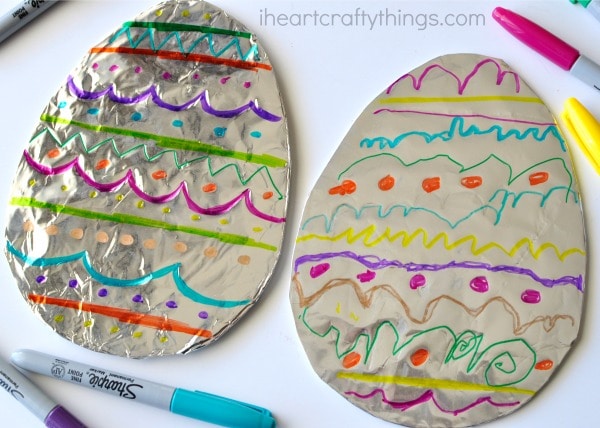
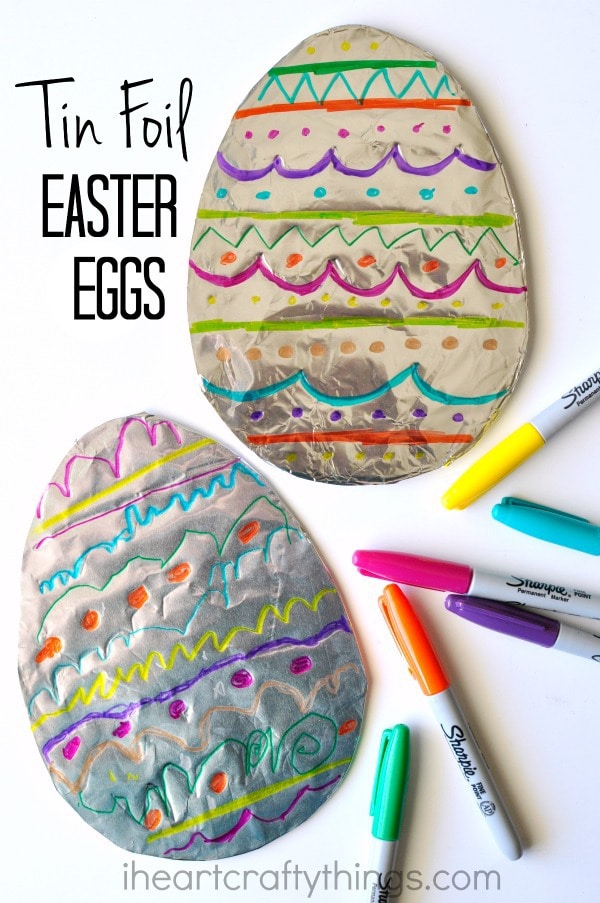
This tin foil Easter egg art is vibrant and colorful and it’s a great opportunity for children to let their creativity shine by creating a unique design on their egg.
I’ve been in the mood to try new things this week. Earlier in the week I fell in love with painting newspaper with watercolors and now we are using a totally new material to us, tin foil (aka aluminum foil). If you are looking for a simple and fun Easter art activity for your kids, this is it!
This Easter egg art project isn’t just fun for preschoolers! Kids of all ages, and even adults, will love coming up with a unique and colorful design on their egg.
Read the simple instructions below for how to set up and create your own tin foil Easter eggs.
Supplies needed for this Easter Egg Art Project:
This post contains affiliate links to the products mentioned. Read our full disclosure policy for more information.
Instructions for making Tin Foil Easter Egg Art
1. Cut out an egg from cardboard
Cut out an egg shape from your cardboard. I drew the shape for my pre-schooler and she cut it out herself.
2. Fold tin foil edges over the egg so the front is completely covered
Tear off a piece of tin foil from your roll. Lay your egg on top of it and then fold the tin foil edges over the egg all over so the front of the egg is completely covered in the foil.
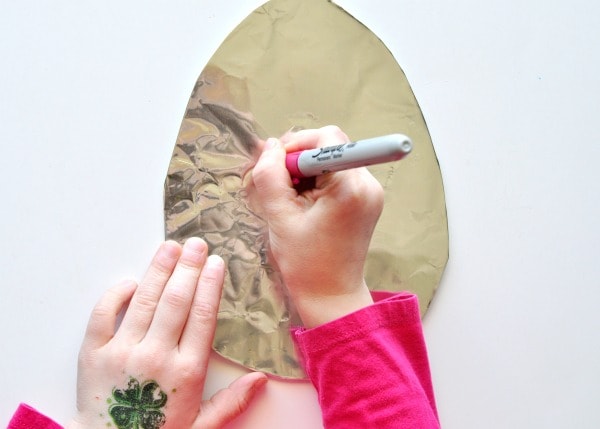
3. Decorate easter egg
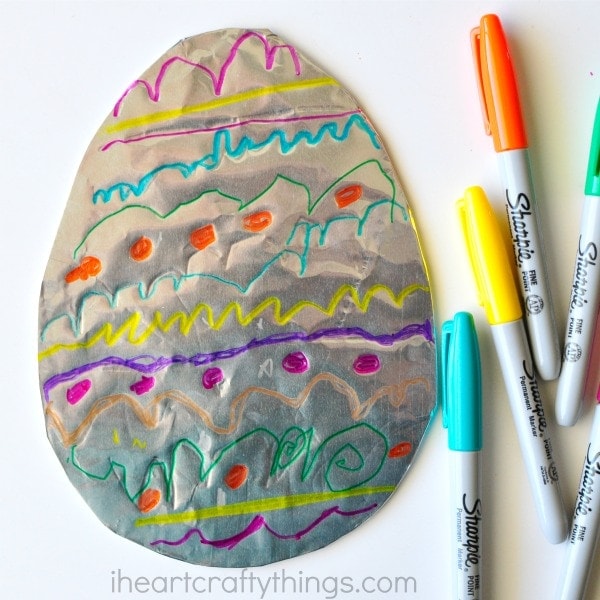
Leaving the lid on the Sharpie marker, have your preschooler use it to draw lines and designs all over the tin foil easter egg.
When they are finished drawing designs, they can use all of the Sharpie markers to trace over their designs and add any more details that they’d like.
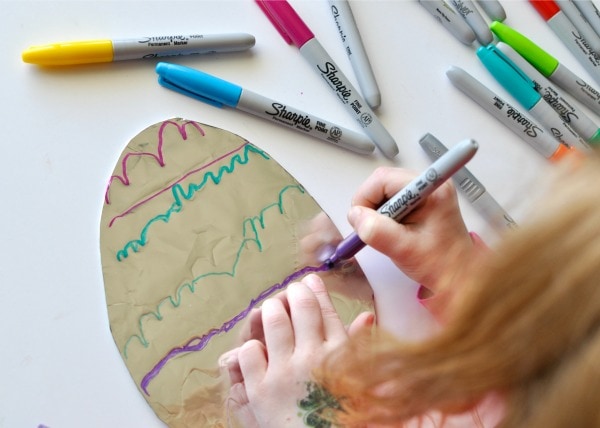
Step 3 isn’t necessary, but I like how it adds some extra texture to the egg. Plus, it’s great for preschoolers to practice hand-eye coordination and general pre-writing skills with the tracing.
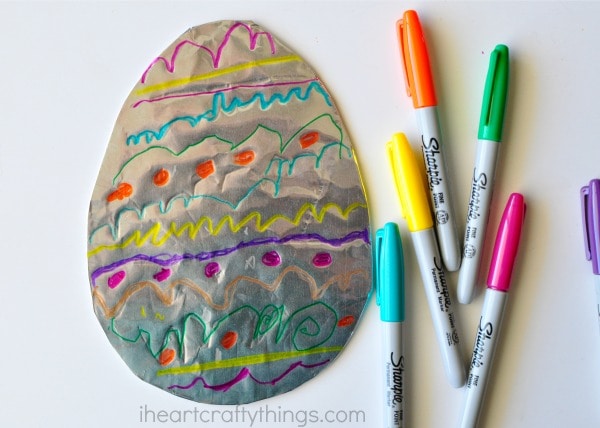
The Sharpie markers look so bright and vibrant against the shiny tin foil. My daughter covered her egg with the dull side of the tin foil but I chose to use the shinier side. As you can see, both worked fantastic so either is just fine.