Supplies needed:
- 2 paper plates
- hole punch
- red and yellow acrylic paint
- paint brush
- yellow and brown cardstock
- scissors
- glue stick
- orange yarn
- green pipe cleaner
Tutorial:
1. Punch holes in your paper plate
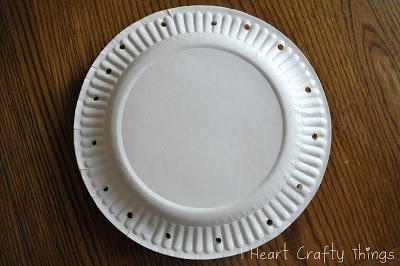
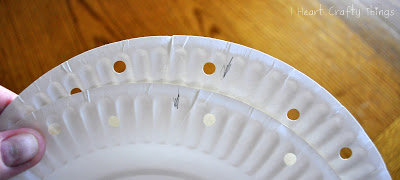
Since I knew my holes weren’t exactly the same distance all the way around, I made a pencil mark on the inside of the plates where the top hole was so we would know how to line them up later.
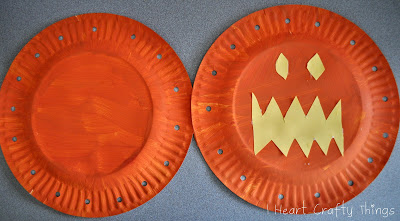
2. Paint the plates
Next I gave the boys yellow and red paint on a separate plate. My son is reviewing colors in Kindergarten right now so I thought it was a good opportunity for them to practice mixing colors to get orange. After they mixed up their paint on their plate, they painted the bottom of both plates. You can ditch the color mixing and just use orange paint if you want.
3. Cut out face details from yellow paper
While the paint was drying, I had them cut the eyes, nose and mouth for their pumpkin face out of yellow paper. We glued them onto one of the plates when they were dry. (One of my son’s didn’t want a nose, just a big, scary mouth!)
4. Start lacing plates together
Line the plates up together, and start their lacing by putting a strand of orange yarn through the top hole of the plate and tying a knot at the top of the plate. Then the kids can have fun lacing the two paper plates together.
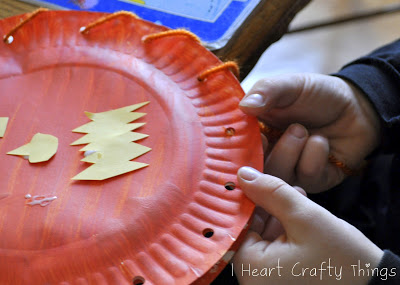
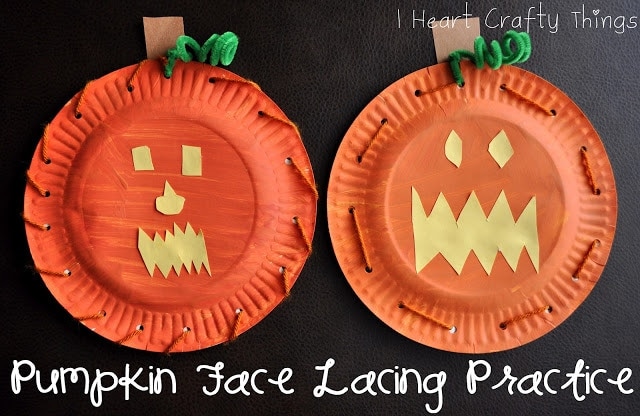
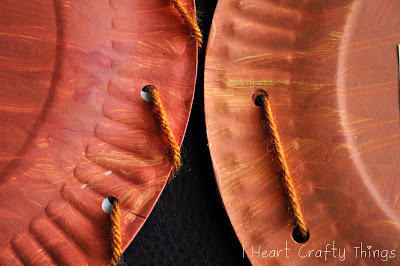
They both laced their pumpkins differently which was cool. You can see in the picture below that one plate is a darker orange and one is a lighter orange. I love how by them mixing the red and yellow together themselves, it gave them a unique color to their pumpkin.
5. Add stem and fuzzy stick
After lacing, I gave them a green fuzzy stick to put through a hole at the top, wrap it around itself to hold it in place, and then they wrapped the rest of it around their finger to make it curly. They also cut out their own stem from brown construction paper and glued it to the back of the pumpkin.

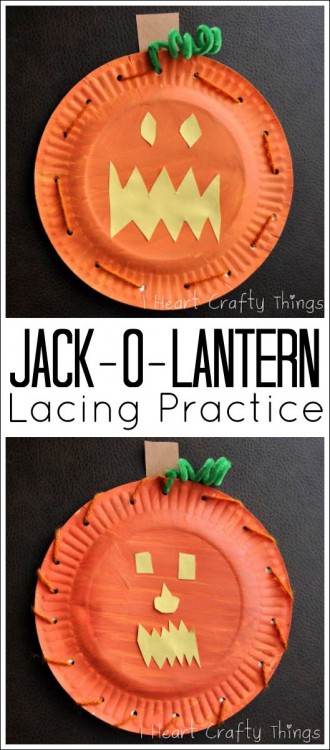
They turned out really cute!!