


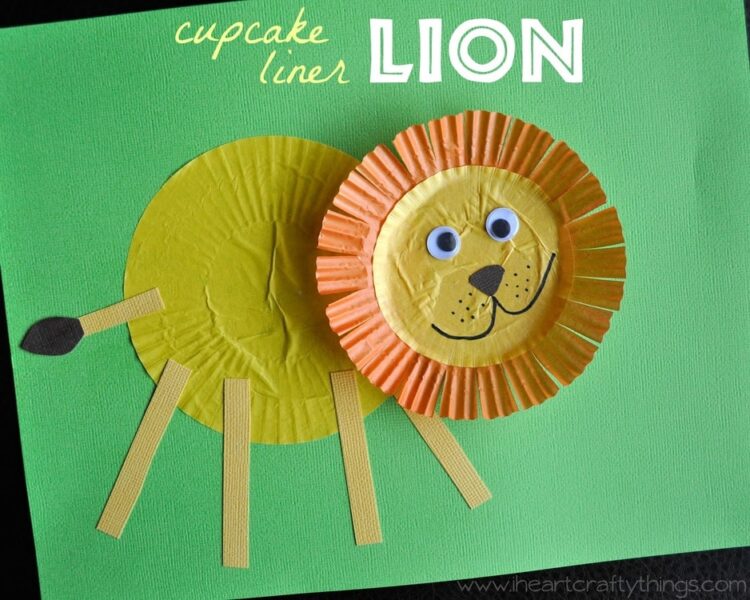
My 7-year old was the inspiration behind this craft when he asked me the other day if we could make a lion. My trusty cupcake liners came to mind when thinking about a lion’s mane and before we knew it we put together an adorable lion craft. So today, I will show you how to do this cute craft!
{This post contains affiliate links, read our Disclosure Policy for more information.}
Supplies you will need:
- 1 standard-sized yellow and orange cupcake liner
- 1 yellow mini cupcake liner
- small piece of yellow and brown card stock paper
- 2 googly eyes
- black marker
- scissors
- glue stick
- school glue
Tutorial:
1. Prepare cupcake liners
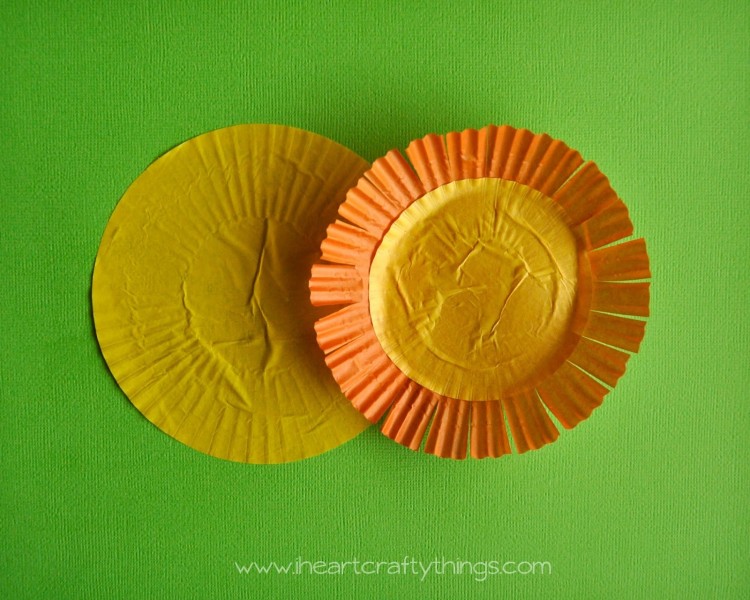
Start by flattening out all of your cupcake liners. Cut small slits around the perimeter of the orange cupcake liner.
2. Glue liners to the paper
Use your glue stick to glue down your cupcake liners. Glue your large yellow one for the lion body first, then your orange liner next to the body and then the small yellow liner on top of the orange liner for the lion face.
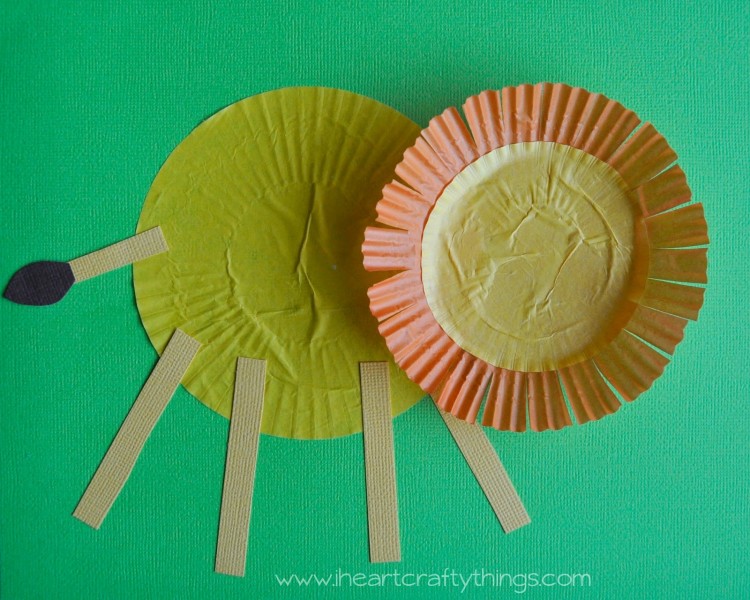
3. Make and glue legs and tail
Cut four small strips from your yellow paper for legs and one small strip for a tail. Glue them onto your lion. Also cut a small tear drop shape from your brown paper and glue it at the end of your tail.
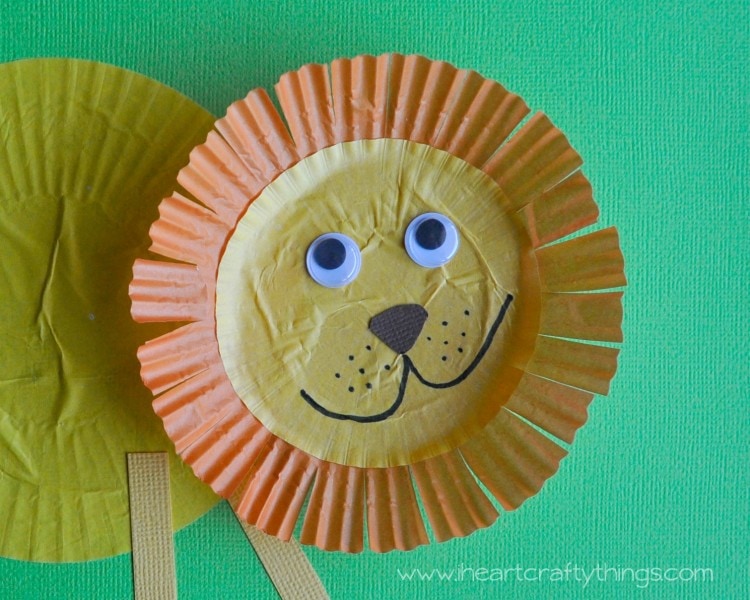
4. Time for face – eyes, nose & mouth
Finish your lion by gluing on two googly eyes, a nose cut from your brown paper, and draw on a mouth and dot whiskers with your black marker.

